Friday 15 November 2019

Building a Petite Street - Part 2

Here's two kits prepared for painting, I stick all the small detail parts on a piece of card with blue-tack which makes handling them easier. Leaving the parts separate until after painting makes painting easier, and allows signage to be added to the shop as seen later. On this model I've used whitemetal chimney pots from Dart Castings set in plasticard bases, and here already primed.


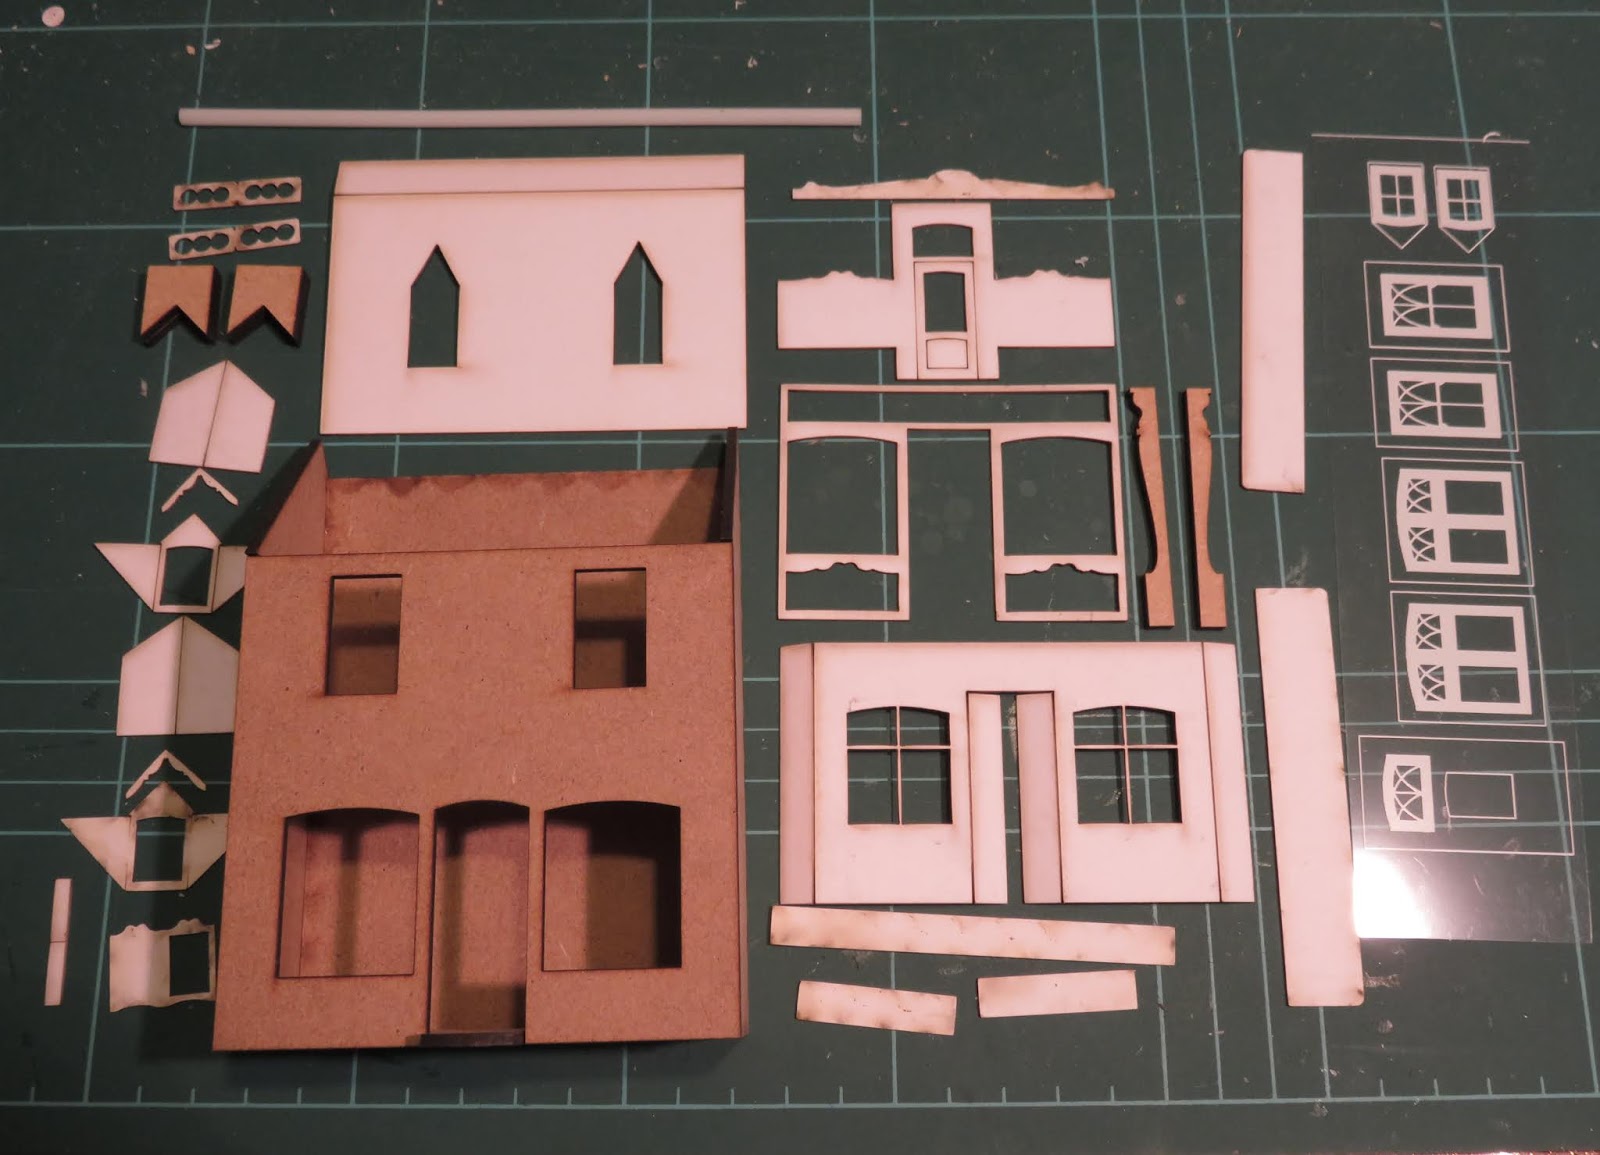
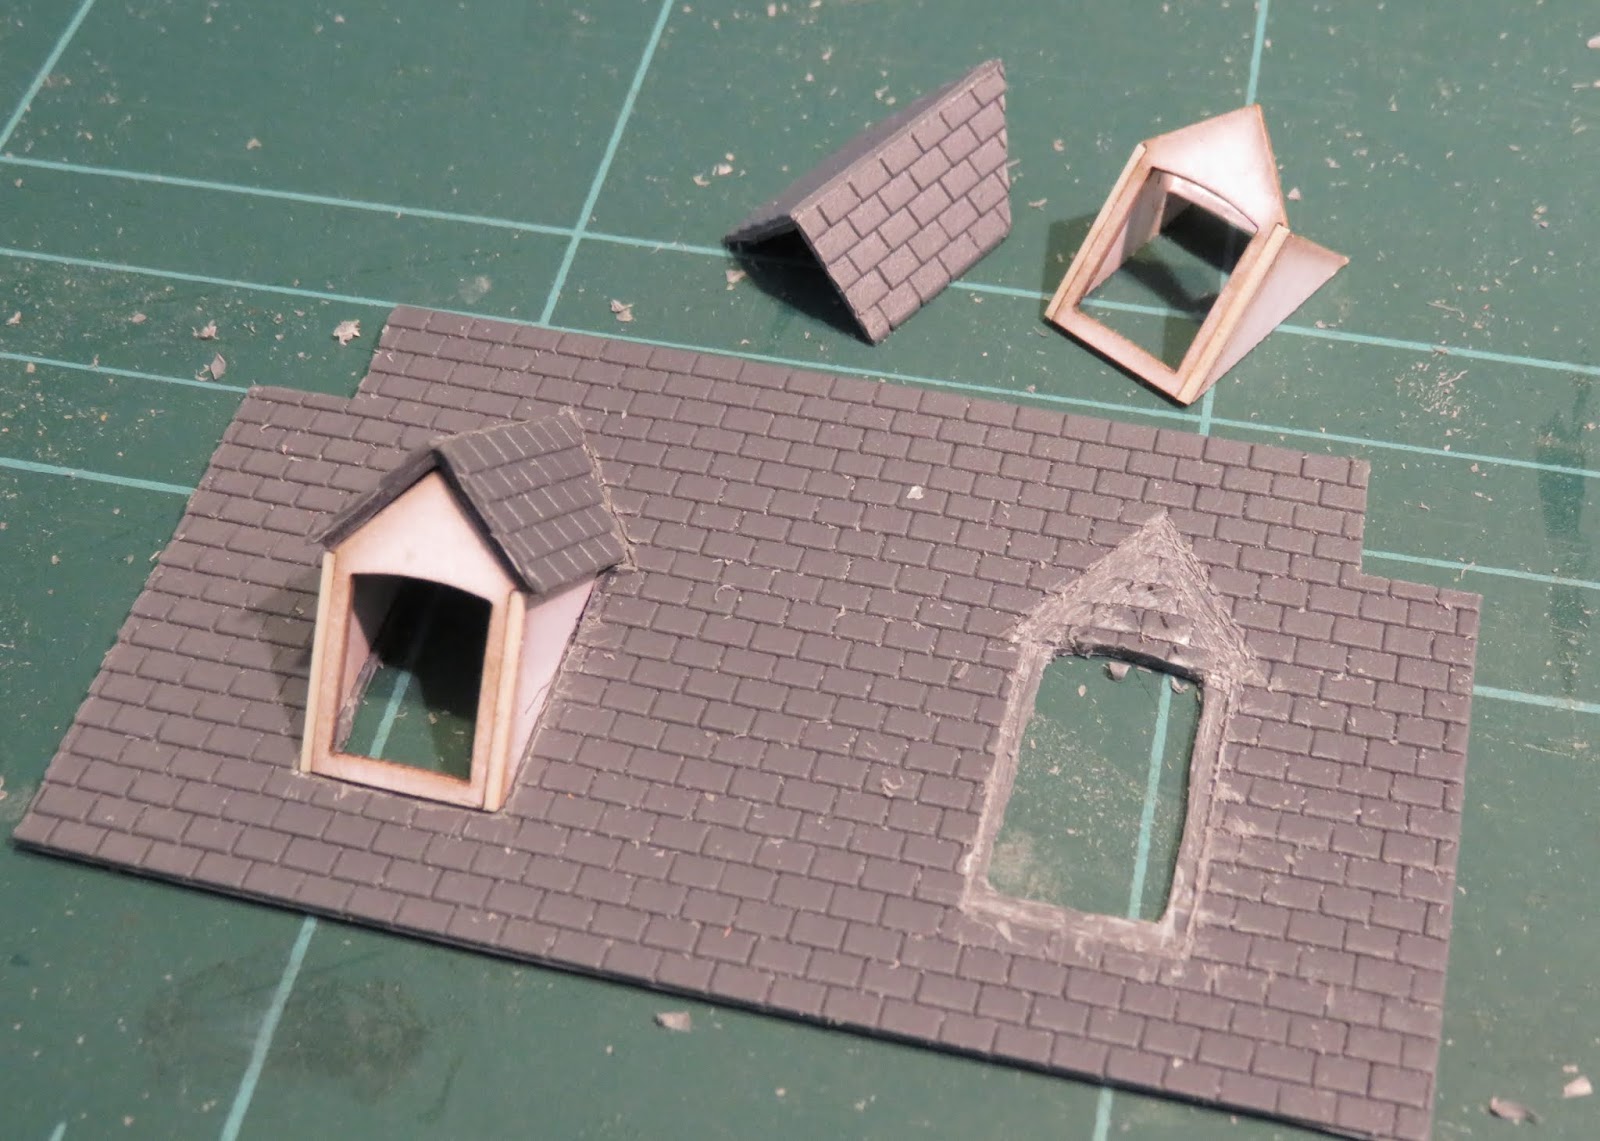
The small cottage has a roof made from Wills tiles, and the foam-core "foundation" can be clearly seen. I've also added supports for down-pipes, but not yet covered the walls. The porch roof was covered with a single ply of tissue before being assembled, while the door frame was so fragile it is tacked to pieces of card with tiny spots of contact adhesive.

The other building is a 3-storey shop, prepared in the same way. This also has a tiled roof, with barge-boards from plastic set into the edges. This one has the chimney pots made from the tube supplied in the kit, which is tricky to cut straight but works OK.


The tall shop got a coating of fine sand to represent render, while the cottage got a layer of talcum powder which should look a bit like rough plaster. After this they were given a quick waft of primer before painting.


So here they are after painting and assembly, though there are some details still to make such as gutters, down-pipes, curtains, and possibly flashing, and I've yet to paint the insides black or fix the backs or roofs.

This building looked like a pub to me, so it's become the Hog's Head, with signage printed out and trapped between the layers. I've tried a 2-tone shop front, not sure how successful it worked though. The roof was painted lots of shades of grey-blue and given a dark wash, but was still a little shiny, two coats of Dullcote didn't help (probably too cold in the garage this week) so weathering powder has been used. It's come out a little dark and hidden most of the colours, but it will do.


The cottage has come out well, I'm pleased with the finish of the walls, helped with a very thin brown wash drawn into streaks as it dried. The door frame in this kit fits into the door opening, reducing the apparent depth, I think it works well and I'd like to see that on more kits.


I'm pleased with the finish of the shop too, although it took three coats until I got the colour looking right (after the first couple I realised it had come out magnolia...), then a well thinned brown wash was applied which really brought it to life. Again the shop front was given a 2-tone look with a print-out, which also gave an interior. Hopefully it has the look of a mundane shop in a back-street of an unremarkable industrial town.


Here's the line-up, along with my first kit, showing the range of roof heights, wall and roof finishes that hopefully add interest without looking out of place together.


While I had the paints out the York Modelmaking slates on the bookshop were painted random shades of blue and grey, as I thought they were just too plain. They then got a thin dark grey wash to tone them and increase the shadows. Compared to the same slates on the roof of Hexworthy's station building I think they look much better.


Building a Petite Street - Part 1

More Petite Properties kits on the workbench, this time to form the street at the back of the challenge layout. The terrace houses on the left will come later, for now I'm building the other three as a batch.


Here's the parts of one of the kits laid out - the walls (here already stuck together) and chimney from MDF, detail parts and roof from card, plus printed clear windows, and tube for the chimney pots.


It doesn't take long to stick the laser cut walls together to see how they look.


I decided to replace the card roof with one made from Wills plastic slate, which turned out to be pretty tricky because of the dormers. I used the card as a template, except that I reduce the overhangs, and make a cut-out for the chimneys which I stick to the top of the walls - rather than onto the roof as intended. The edges of the plastic are rebated to allow the barge boards to sit just under the slates. The card sides of the dormers were used, with a strip of microstrip filling the corner of the fold.


Surprisingly I got the new roof pieces to fit well. Ridge tiles use L-section plastruct notched every 4mm.


This one has walls covered in brickpaper, in this case from Scalescenes. Before covering I added a piece of 5mm foam-core board under the floor to allow the building to be set into the landscape later - I wish I'd thought of this for the earlier models. The shop front is assembled, but without framing and not yet attached as it and the other small details are to be painted separately.


Monday 4 November 2019

Mini Capacitor Discharge Unit

As I mentioned in the last post, I took my part-built 009 society challenge layout to show on the demo stand at EXPO-NG. This layout has solenoid point motors, and I recently posted about my large power-pack, now fitted with two transformers (for two controllers) and a big capacitor discharge unit (CDU) which will power up to 6 points at once. I also have a mini power-pack with a single transformer, much more suitable for micro layouts, but without a CDU it couldn't power the point motors on the challenge layout. I didn't really want to take the larger, heavier power-pack, so could I fit a CDU inside?

I had a vague idea what was needed, but a quick google turned up a useful site that confirmed the circuit diagram. Essentially a diode creates a DC supply from the 16 V AC input, a capacitor stores energy to kick the point motor over when required, and a resistor prevents the solenoids burning out if a switch is left "on" by limiting current flow. My sketch of the diagram is shown below, along with my implementation using a choc-block screw terminal.


What's more I found a diode, a 2200 uF capacitor, and a pack of resistors all in stock, so I gave it a go. The completed home-made CDU is shown below, about to be squeezed into the box. I didn't know where to start with the resistor, so put in a 1 kohm, it worked but took >30 seconds to recharge before it would work again - not ideal! I went down to 100 ohms which was better, but then I thought I could do some maths. I measured the voltage at the capacitor - about 22 V - and reckoned up to 1 A should be safe for the coil, at least for a few seconds. V=IR means a resistor of 22 ohm is the smallest I should use, so I found one and fitted that. The recharge time is now under a second, so perfectly adequate for a layout with just three points.


So the mini power-pack not only provides a single controller from one winding of the transformer, but the other winding now powers the track cleaner, the CDU (22 V DC pulsed), and a 16 V AC supply for any other accessories. The 5-pin DIN socket is for the controller, and the 6-pin DIN socket takes track power, CDU, and 16 V AC to the layout. Also seen in the box is a switch to power on/off the track cleaner, and a thermal cut-out protecting each of the transformer windings.


The track cleaner is rarely used so I could remove it, which would provide space for a "proper" CDU (larger, faster recharging, better point motor protection). However I'm happy with the way the simple CDU works for one point at a time, and with an acceptable recharge time, at least for small layouts.