Showing posts with label station. Show all posts

Saturday, 12 July 2025

Rail200 - platform and canopy

Operation will be more interesting with passenger trains to bring staff and visitors to the hospital, so a suitable "station" was needed. Now, Whittingham hospital had a somewhat grand station with a substantial train shed, and Calderstones hospital had a temporary wooden station with canopy for the mainline ambulance trains during WW1. I thought my layout might be more interesting if the platform had a canopy, but something rather more humble. After a bit of browsing what was available, I thought the best starting point was the venerable Kitmaster/Dapol/Airfix platform canopy kit. The mouldings are dated 1959 so it has been around a while, but other than a little flash it's still a perfectly good kit.


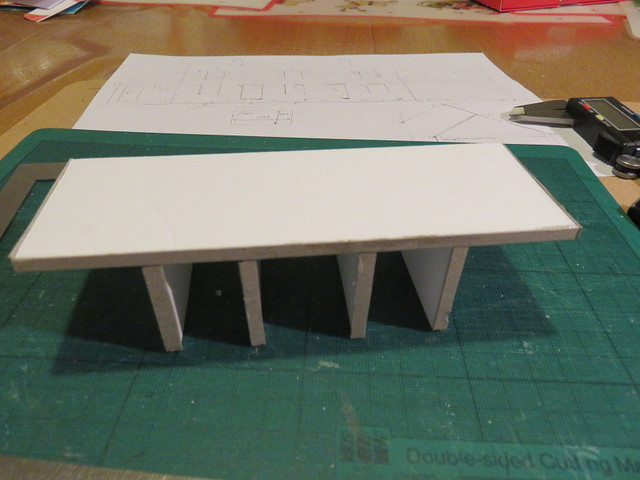
Rather than build as intended with two girders under the middle part of the frame, I used one under the far edge (which required removing and moving the downward brackets), the near edge simply has a strip of plastic as it will sit on a brick wall.


The roof itself is as per the instructions, except I filled in the end half-panels with plain plastic sheet as this looks better, and can hide the end of the glazing better.


The four pillars in the kit are intended for platform mounting, but I need to support the far edge of the canopy from the ground beyond the track, and one pillar for each of the five roof trusses seemed logical. For strength I decided to use brass, and happened to have tube in stock in two sizes that fit one inside the other, plus a slightly larger plastic tube. I made them up with the larger section forming a wider base, topped with a slice of the wider plastic tube and with another short section of plastic tube below, leaving about 12mm of the thinner brass tube to fit into holes in the baseboard. Short lengths of the plastic tube were also cut and glued under the girder under the canopy, forming sockets for the pillars to fit into.


1.5mm holes were drilled into the baseboard after careful measuring. I realised I needed to make the pillars removable - I'll need to remove the canopy to relay the track and insert a point later - yet all would have to be firmly fixed in place. I found paperclip wire was a tight fit into the tube, so inserted a length in each (they get progressively longer thinking this might make them easier to fit into place one at a time). The idea is the soft iron wire can be bent over under the baseboard holding the pillars in place. 3mm lengths of the plastic tube were cut and inserted into the foamboard making a solid spacer to the ply, and fixed in place surrounded by PVA glue.


For the near side I made up a brick wall with more of the Wills arched windows in the style of the other buildings, I decided three looked better than two. Although the wall was simple enough to build it proved complicated since every dimension seemed to depend on another - the width of the canopy, height of the wall, width of the platform, clearances to the train and gap to the pillars... 


The canopy would also need to be fixed to the wall and yet removable when needed. The plastic strip sits on top of the wall, I added another strip at 90 degrees which protrudes down the inside of the wall locating it side to side. A couple of holes were then drilled through the inner strip and the brick wall and paperclip wire "pins" pushed in to secure the roof down. I'm hoping these can be held in place with a blob of glue or some tape, allowing them to be pulled out when needed. 


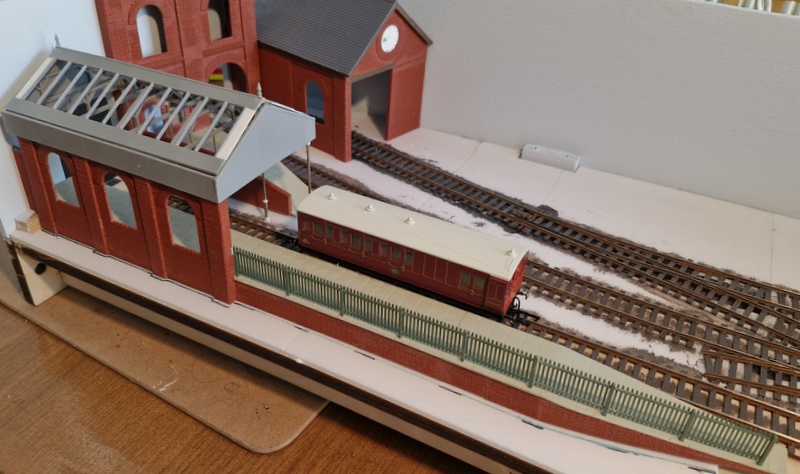
Once I'd got all the dimensions sorted the rest of the platform was made up from more Wills sheets. The Ratio fencing (including sloped section) was found in the bits box and fitted, this leaves the view a bit more open than a brick wall would have (and there's plenty of brick!). The platform is deliberately narrow, but at a scale 10' wide (or about 9' inside the fence) it's plenty wide enough for the expected traffic, and as you can see it can hold a couple of 4 or 6 wheel coaches and a loco. The canopy seems to fit in well, it's not too large, looks more interesting than an open platform, and is effective at hiding the hole in the sky at the left end.

A view from the yard side that won't normally be seen, which is a shame as it looks rather good from this side! This has taken somewhat longer than I'd thought, interrupted by a family holiday and the Pevensey show, but I think the result was worth it. 

Saturday, 9 January 2021

Finishing Hexworthy station

 Back in June I showed a canopy fitted to the Hexworthy station building. I realised I'd taken a couple of photos of it under construction so thought I should share them! It's made from plasticard edged with some plastic valancing I've had for "one day" for years. The felt roof is just masking tape, applied in slightly overlapping strips. Also in this photo can be seen one of the chimneys with flashing fitted just before final installation.


The underside of the canopy is braced with plastic section and strip (the black diagonals are difficult to see but help prevent warping), and a centre rib made from the sprue from the valance. Paper-clip wires are fixed in place to provide a mounting to the building - holes were punched in the wall for them to push into. 


It was several months later until I got around to painting it. It was made harder when I realised the colour wasn't straight from a tin, I must have mixed it! Eventually I got a reasonable match to the doors, though this is a lesson to use an available colour when it might need to be matched in the future...

Anyway, with the canopy fitted and the chimneys now fixed, I think the station is finished. I have wondered about fitting lighting before it is too difficult, but there are more pressing matters so we will see.


Round the back there is less detail, with no gutters or downpipes, though since it will be a couple of inches from the backscene it could probably have managed even without doors and windows!


Hmm, the café in the old goods shed could do with some interior detail though. The roof is not fixed on yet...

Thursday, 4 July 2019

Down-pipes and details

More progress has been made with Hexworthy station building. The barge-boards have been painted, first grey - a similar shade to the slates, ensuring to cover the edges and there is no white visible. The colour was then painted on, but leaving the top edge grey to disguise the fact it is outside the slates, rather than under them. Although a bit of a cheat this has worked well, and it is certainly not obvious that the barge boards are not quite where they should be.


The other obvious change is the down-pipes are now fitted, having been painted matt black (along with the gutters) and super-glued to the walls. I confess I didn't bother with gutters and down-pipes at the rear of the building as it will be very hard to see. The chimney pots are also painted and fitted, though the chimneys have yet to be glued in place.

Not so obvious but internal walls are now fitted, and floors prepared. The interior is mostly painted grey for a "shadowy" interior, but the booking hall, ticket office and goods shed have pale walls and brown floors in case they are more visible.


At the other end the toilet block roof is painted - matt grey covered with talcum powder is ideal for felt. A down-pipe has been fitted going up inside the fascia board, with a hole drilled in a corner of the flat roof suggesting the drain.

The heating fuel tank is a Bachmann item, and has had a dirty weathering job so is ready to be planted, it will probably be partially hidden by bushes and flowers in due course.


I've been pondering how to finish the roof, it looks to consistent and clean, so I put together a small test piece - imagine it in quarters. The right-hand half was given a dirty black-green wash of well thinned enamel, but this has just darkened the paper slates. The lower half was treated to a mix of black and grey weathering powder, brushed over and into the cracks, I think this is much better at disguising the (slightly oversized) cracks and giving some variation of shade.


I picked up this container for the yard some time back, but while the paints were out decided it needed weathering - heavily. I rubbed off some of the lettering with a fibre-glass pencil, then gave the whole thing a wash of black-green enamels, wiping off any excess with a cotton bud and causing downward rain streaks. This collects in the detail nicely. A little rust was dry-brushed on, particularly the corners and outer corrugations, and the door closing bars. Finally a little weathering powder and a spray of Testors Dullcote to seal and it is ready.

Thursday, 27 June 2019

Hexworthy - station building details

It seems a long time since I posted progress on Hexworthy's station building, but alongside other projects I have been chipping away at finishing it off. Starting with the top down, I needed chimney pots, and having trailed around the Alexandra Palace show searching, they are something that seem surprisingly difficult to buy. In the end I decided to just use plastic tube, a basic approach but seemed to work well on the Petite Property kit I built.


I've a cheap and cheerful chopper tool which rarely gets used, but it worked well here, with a steel square used as a length gauge, and made chopping a dozen pots to the same length straightforward.


The base is a couple of layers of 40-thou black plasticard, with holes punched in the top one and opened out to take the pots. Simple in theory but tricky to get all the holes lined up and without distorting the plastic too much, and the pots all in straight, however it seems to have worked out well enough. Once solid the tops were all levelled by sanding.


With hindsight I should have fitted the barge boards, then slated over the top edge of them, but I didn't so I used thin plasticard (10-thou) and tried to not make it too obvious that they don't sit under the slates. Cutting them to get the angles neat takes time but I think the result will work. The 3mm wide boards hide any gaps under the roof nicely, though I'll have a challenge painting them without getting paint on the slates!


The gutters are a cheat, they're a strip of 40 thou black plastic with the front lower edge rounded to a curve with a scalpel and emery paper. Hint - do this before cutting the strip. The rear of the strip is stuck under the edge of the roof with about 1mm showing. The gutter is obviously solid rather than hollow, but no one will see, helped by shaping the end of the strip to a small "D" shape.

This shot reminds me I'm not happy with that roof valley. Again with hindsight, painting the roof valleys lead grey would have been a great idea before slating it, now I'll have to think of a solution.


The toilet block has gained a roof too, a simple flat roof with edging boards, and covered in strips of masking tape to represent felt.


Finally for now, down-pipes are made from 1mm plastic rod, with support brackets stuck on from microstrip. With a few to make I used a simple jig, double-sided tape on a piece of glass, and marks on masking tape. High-tech it isn't, but when making multiple parts it does help. These will be fitted after painting, though I confess I've not bothered with gutters and down-pipes for the rear.

Now somewhere I have a nice moulding for a station canopy valence, but can I find it now I want it? I'm still pondering whether the station needs a canopy, but as a preserved railway station (especially in an area with a reputation for being wet!) it probably should have one.

Thursday, 11 April 2019

Return to Hexworthy

After a break of about a year while other projects have intervened, I've finally got back to working on Hexworthy. I had been working on the station building, I'd painted the stonework but a mortar wash hadn't worked well. Then it struck me, would weathering powder work? After some experimentation I settled on talcum powder, with some beige weathering powder mixed in. This was brushed over the stonework, into the mortar courses and off the faces of the stones.


As well as providing the mortar the powder tones down the stone colours and gives a pleasing matt finish. I pondered using a varnish (dullcote) to seal the powder, but that can dull the effect, and I'm not sure if it would affect the foam. Anyway, I'm happy with the effect, and it was quick and easy to do.


The other job that had stalled was the roof. I'd made the carcass from black plasticard, and started applying York Modelmaking laser-cut slates. These are self-adhesive strips with the slates cut into one side, and are laid overlapping to form the roof. The paper material is self-coloured, and looks just the right thickness, so it is pretty easy to use. However, the dormer windows made cutting them and fitting them somewhat more involved than for a plain roof - so it did take me some time!


The ridge tiles are folded over and stuck down, but they are reluctant to stay folded and are lifting slightly in places, I'm not sure how best to fix this without leaving visible glue. The roof is also rather uniform, and I'm not sure how best to weather it. Will it take a paint wash or will that damage them? Weathering powder might be too effective on the paper surface.

I realise I should have fixed barge-boards before the slates, so the slates could go over the barge-boards, I think they will now have to go on the outside of the ends. As you can see above, there is a rather large gap under the roof above the goods shed that needs a barge-board to hide it. The dormer windows need lead flashing too, again I'm not sure how best to do that. Then there is finishing the tops of the chimneys. You can see that I have pained and fitted the window frames, but there is still lots to do, and lots to figure out as I go.
Tuesday, 20 February 2018

Getting stoned

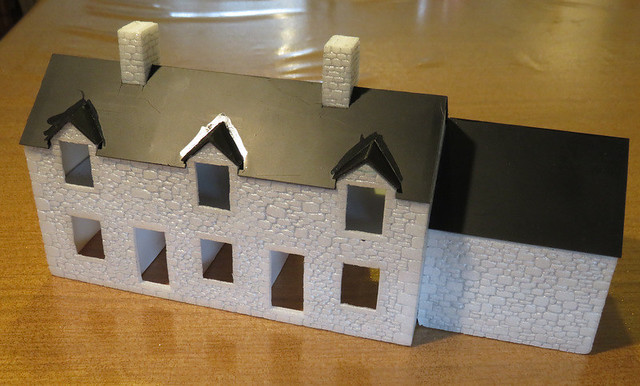
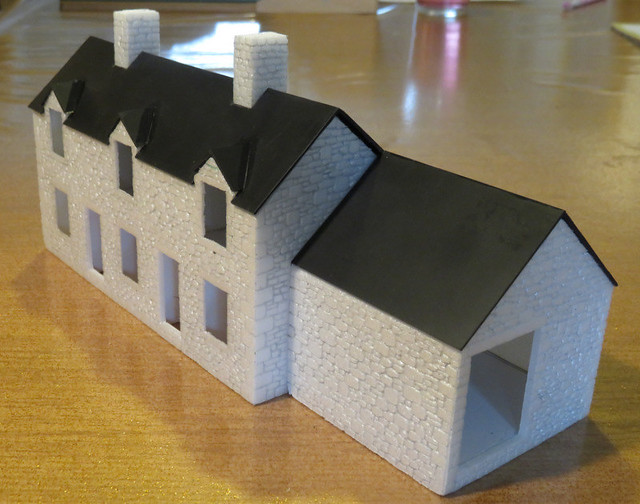
In the last post on the station building I'd decided to cut out recesses behind all the windows to take the frames to a suitable depth. It took a while, but once complete I assembled the walls around the core of walls and floor.

IMG_4361-001

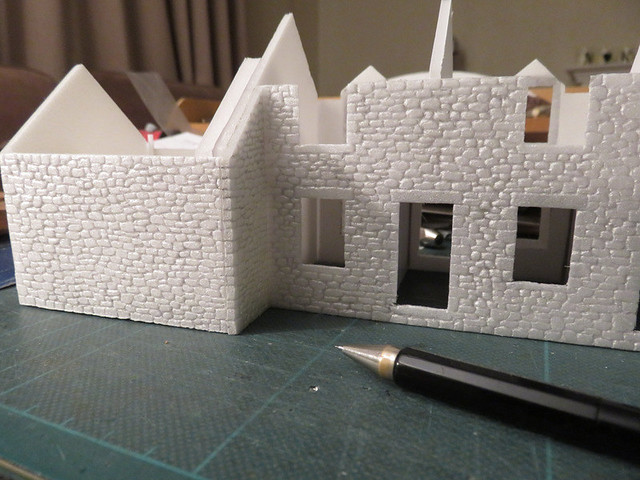
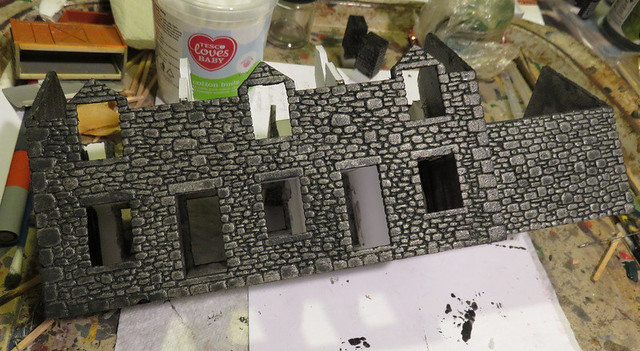
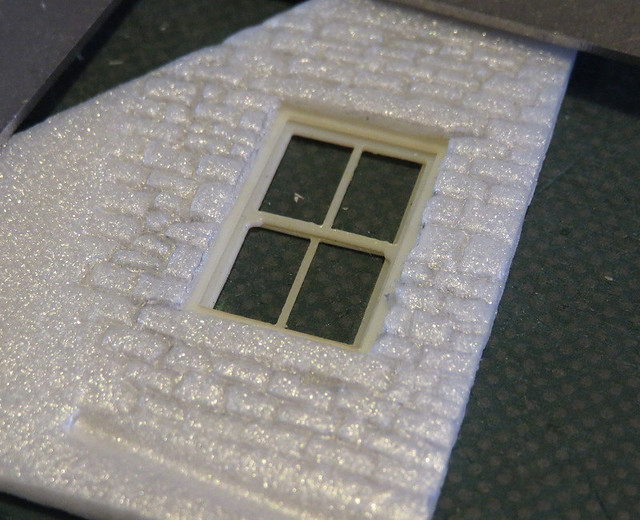
The next step - following the small practice pieces - was to start scribing the stonework. For this I simply used a 0.5mm propelling pencil, which gives a suitably fine mortar course. I used some photos of Dartmoor buildings to give an idea of size, shape, and irregularity. Even so I had to concentrate on making the stones look realistic, not like graph paper or the strange "squashed cushions" it is all too easy to end up with. I was given some good advice by Daniel Caso on the NGRM forum - "draw the stones, not the mortar lines" - and by ensuring I drew around every stone I found they looked much better.

IMG_4367

Did I say this took ages? Short bursts in evenings worked best, but it was over 2 weeks until I finished all the walls.

IMG_4387

Next up was the roof - and it turned out to be a tricky shape! I used black plasticard, and made it in one piece with lots of bracing. It will be glued down eventually, but it will need to be removable for a while yet. The dormers were, er, challenging...

IMG_4389

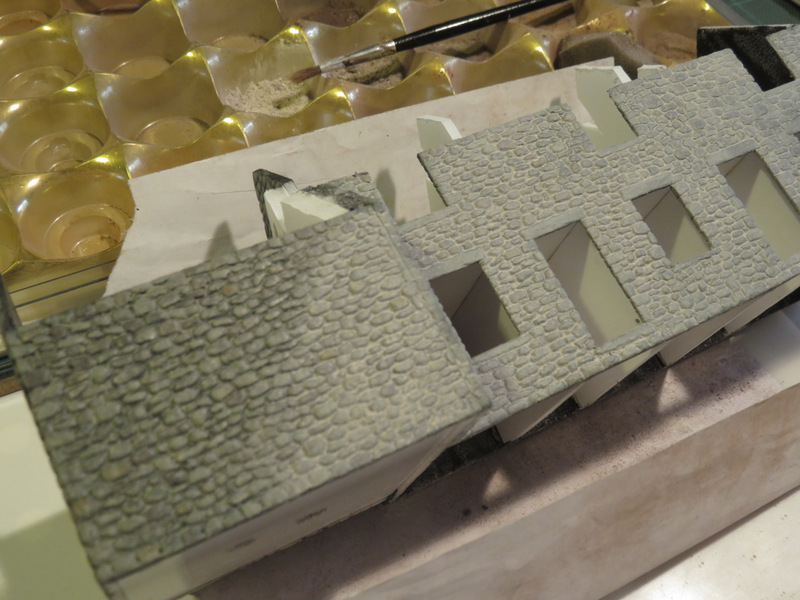
Finally, I've made a start on the painting. I've made a start with a coat of grey acrylic mixed with PVA glue, the aim being to seal the surface and strengthen it, and also ensure no white shows. The plan now is to dry-brush colours over the stones, and possibly lighten the mortar with a light wash, but to be honest I'm making it up as I go along, and hoping it works!

IMG_4391

Friday, 26 January 2018

Foam walls

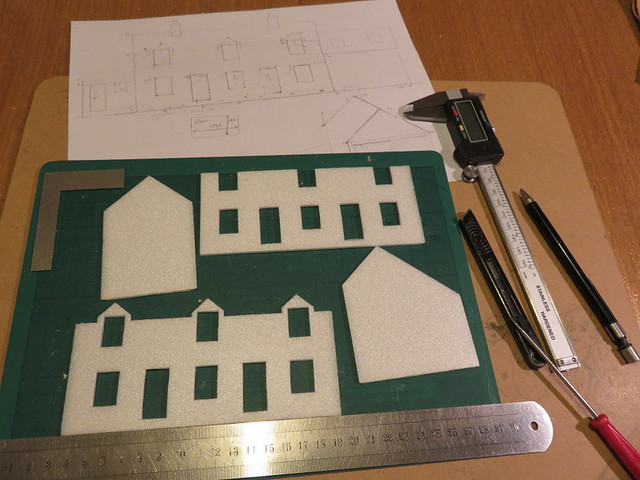
It's been a while since there's been any actual modelling from me on here, but things are picking up after a slow period. I actually made a start on the station building before Christmas, and cut all the main walls out of the foam. Marking out was done by laying the drawing over the foam and sticking the point of the scalpel through at the corners of the windows etc. Much easier than trying to mark out on the foam, there's no rubbing out possible here!

IMG_4256

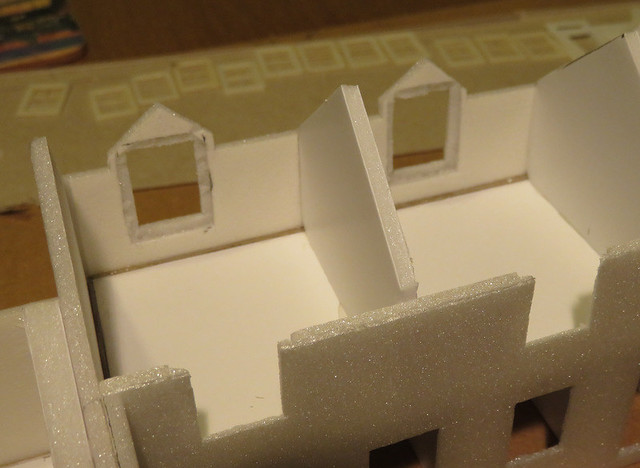
The foam is from a pack by, I think, Busch - I bought it years ago from goodness knows where, and found it in one of the many boxes of things that will come in useful one day (see?). It's about 3mm thick and has a stiffened back, a later of paper I think, though it still seems pretty flimsy for making buildings. I considered making a foamcore board inner but the walls would be waaay to thick, so I've gone for a core of walls and a floor to give strength. There can't be a ground floor as I'll need to put windows in later.

IMG_4258

(The card around the edge is because as first cut, despite my measuring and calculating, it didn't fit in the walls right!)

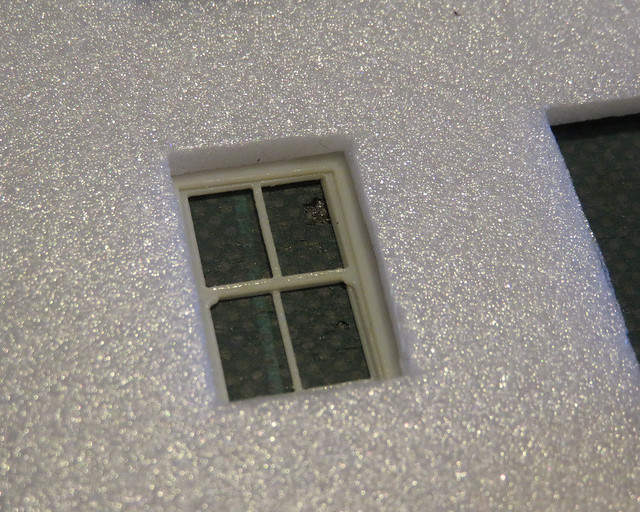
Talking of windows, I got some rather fine ones from Smart Models - I think they're laser cut. They come in 3 layers to make a sash, though in the next couple of photos I hadn't stuck them together so they may look a bit wonky.

IMG_4323

However the thickness of the foam sets them too far back, it didn't look right to me. The wall thickness may be prototypical (probably less), but usually windows are closer to the outer face of the wall. So on this test piece I cut out a recess from the rear about half way through the foam, putting the window nearer the outer edge - it's fiddly, trying not to cut right through the foam and get an even recess, but the result looks so much better.

IMG_4322

You can see my practice stonework too, though I'm thinking that is too regular and square for Dartmoor stone.

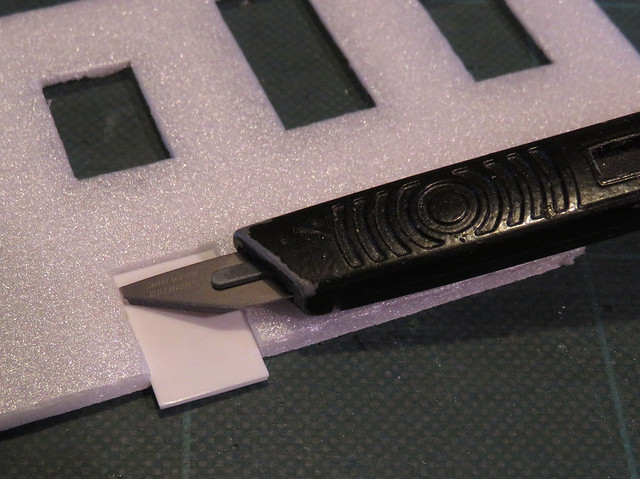
So here goes, cutting recesses for every window and door. I used a piece of plasticard as a guide to cutting straight and consistent slots.

IMG_4352

More soon...

Wednesday, 12 September 2007

The plan for the new layout

Southon Yard has been sitting on the bureau, in the alcove next to the fireplace in our dining room for the last 3 years. This has been great as I can play trains at any time, and it is good to show off my loco's. However it struck me that it wasn't fully utilising the space there, and the limitation of Southon Yard is that you can't really run trains, just move loco's about.

So I decided to build a layout to fill the alcove, which gave me 3 foot 6 inches by about 13 inches deep, but also restricted to 12 inches tall at the backscene due to shelves above. I seem to have collected some tramway style loco's, with skirts fitted, and also some coaches that would look good on a tramway style layout, but how do you capture the feel of a roadside tramway in such a small space? I also wanted good shunting potential. I thought a train length of 12 inches, plus loco (up to about 4 inches) was sufficient. That means 2 bogie coaches plus brake van, or 3 4-wheel coaches, or about 5 wagons.

So I came up with this plan, you may recognise elements from Wantage - particularly in the Station with overall roof and the goods shed behind. I also have a goods yard, and a factory, so 4 sidings to shunt. I even got an engine shed in! Low relief buildings and the factory will give an urban back-streets feel. The line runs onto a removable "fiddle Yard" which will use the cassette system I designed for Pen-Y-Bryn Quarry, as that worked well. The fiddle yard will sit over the mantle piece, but will only be fitted when the layout is slid forward about 6 inches, so I plan to mount the layout on drawer runners into the alcove!

I have started building the baseboard - but more of that later. However I have not come up with a name for the layout yet, so suggestions gratefully received!
Posted by Picasa