Showing posts with label grass. Show all posts

Sunday, 14 September 2025

Rail200 - green fingers

The last couple of weeks have been manic at work with no time for modelling in the evenings, so I'm falling behind where I'd like to be with the deadline for the Rail200 challenge at the end of the month. However, I have managed to progress the scenic work over a couple of free Saturdays, and I've a day off later this week, so I'm confident I can catch up. 


You may have noticed in the last post that the water crane has found a home. There were a variety of opinions on this, but some good arguments that by the shed was logical and helped justify the extent of retaining wall. I was worried it would look too crowded, but realised I could trim the rear corner off its base to clear the wall so it could fit further left, It's surprising how much difference that made. 


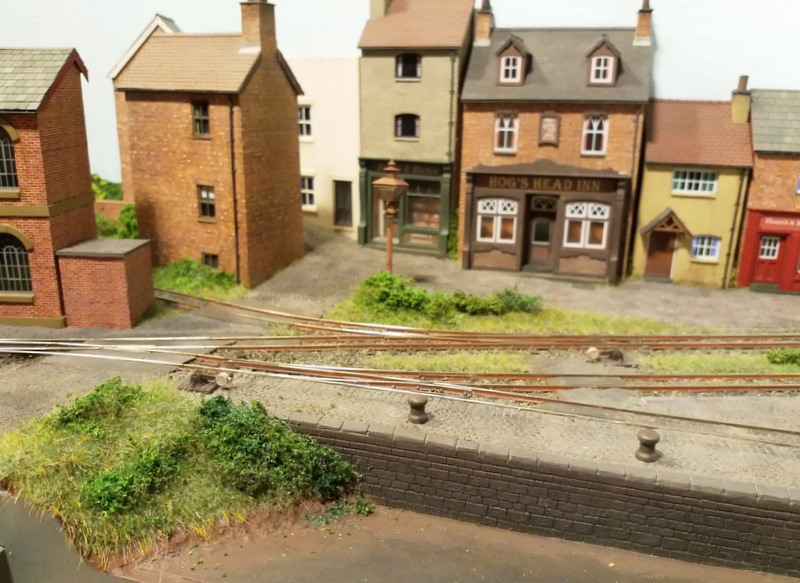
Greenery started with traditional scatters over slightly diluted PVA. This provides a base layer for static grass, avoiding bare patches. For more rough ground, I add some ground foam type scatter too. 


The static grasses came next, using the Peco applicator and basing glue. I've used a mix of shorter, greener fibres and longer yellower ones, vacuuming up as soon as applied (with a jay cloth over the nozzle to collect and reuse fibres) then going back for a second and third application before the glue sets. I still find most of the grass lies down though! Shades and lengths of the grasses are varied depending on the type of ground. 


Finally, shrubs, bushes, and undergrowth are added using a variety of materials, Rubberised horsehair, lichen, and some carpet underlay I dyed green years ago in a failed attempt to make long grass but teased out makes a great foliage base. These get a liberal spray of hairspray and sprinkled with (or even dipped in) one of a selection of scatters - usually the fine ground foam type, sometimes a coarse foam or even just a plain fine scatter. Clumped foliage is also used, though I find that a bit dense and too crumbly. I use shades that are not muted and don't differ too much for a cohesive look. Matt Modge Podge is used to stick things in place, scissors to trim them, and tweezers to hold them during the messy gluing and place them.


For weeds in the grass, I brush a little slightly dilute matt modge podge over the top of the static grass and sprinkle on some of the ground foam, using a couple of similar shades for variety. 

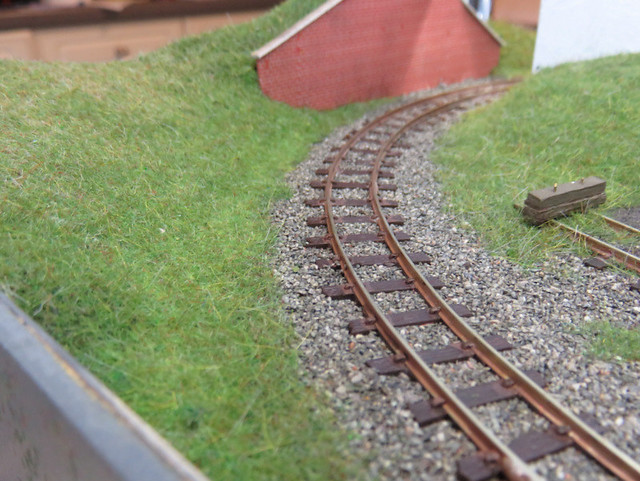
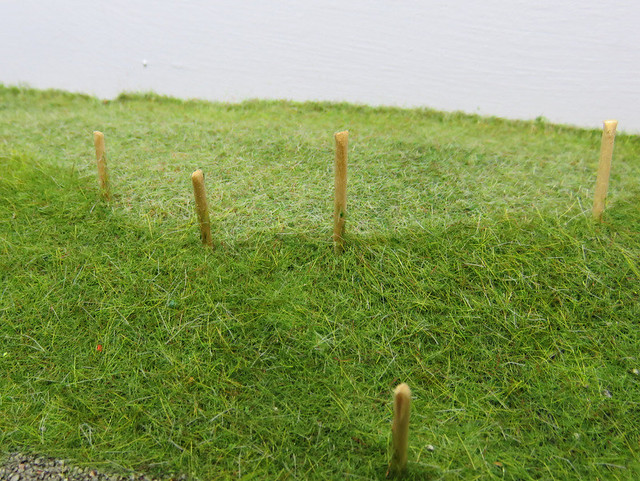
I'd been thinking about a fence along the back, in the end it was a bit of a spontaneous decision. It's Dapol/Kitmaster fencing as I had some in and it looked right, painted shades of brown. Somehow it could fit a contour line with a little bending. The hill behind the engine shed was another matter, so I tried a foam hedge but that looked far to neat. I had some Busch foliage which I found didn't tease out well enough for trees. I cut a strip, folded it lengthways stuck with matt modge podge, then stuck it in place. I picked some chunks out with tweezers, and applied some different colour foam scatter over parts of it to make it look like a line of bushes rather than a foam sausage. There's a lot of undergrowth in the space between the hedge and the engine shed. 


The great thing about scenery on a model of this size is that progress is rapid and it makes a big difference to making it look more complete. Next, it needs some trees, which I'd made a start on but made no progress recently...

Tuesday, 24 January 2023

Adding some fuzz

A little while ago I treated the scenic areas of Hexworthy to a coat of green scatter. While this makes a big difference to the look of the layout, the use of static grass adds an extra level of realism when viewed close-up. The scatter provides a good base preventing the bare ground showing through the static grass, and the use of ground foam scatters provides an unevenness, onto which the static grass provides the texture. 


So, here's a selection of the fibres I used. It seems I've collected a lot of bags of scatter, mostly at exhibitions when I see it and think I might need some, but I've ended up with some duplicate packets, lots of long dead grass, and I could do with more shades and lengths of green! Still, this proved to be a reasonable selection. I mix fibres in a pot to suit the location; here I used shorter lengths (1, 2, and 4mm) of mid-light greens for the pasture where sheep graze, a more lush look by the river (some darker greens plus some longer yellow grass), and longer/more mixed paler grass (2, 4, and 6mm mid-pale greens and some yellows and browns) for embankments. 


I use Peco basing glue for static grass, I find this doesn't form a skin like PVA meaning it allows larger areas to be covered, and the fibres stick better, it even allows a second pass. It's also the right consistency to apply neat. I think the scatter base helps stop the glue running too. Cheap kids brushes are needed for this, they won't be good for much else afterwards. 


I use a Peco applicator, this works much better than the cheap tea-strainer meets fly-swat type I bought cheap years ago and is much safer, but I guess that isn't surprising! Here I've clipped the ground to a convenient rail, but if there isn't one nearby, a pin pushed into the ground is used. The applicator is shaken and moved at different angles to ensure even coverage, I find rotating it helps too.


I then vacuum off the excess almost immediately. A piece of jay cloth catches the fibres so they can be returned to the pot. Vacuuming while the glue is wet doesn't seem to dislodge fibres that are stuck, if anything it can help them stand up. The applicator can then be refilled, or filled with a different mix, and another application made while the glue is still wet - sometimes adding longer grass for example. 


Grass doesn't have to cover large areas. A small brush not only helps get into corners and close up to walls, but also to apply small areas of glue around objects, along the edges of pathways and in drainage gullies. 


Here's a close-up of the are seen being grassed above, once the glue has dried. This embankment has shorter grass in mid-green with longer yellow grass and a few browns too. The small brush allowed glue to be pushed between the rocks so the grass grows from between them. 

In a wider view some subtle changes in texture can be seen, the shorter and brighter green grass of the pasture at the rear, the longer yellower grass of the embankments (the join will be marked with a fence in due course), and slightly darker green close to the waters edge. The mixtures of fibres and variations of the mix avoid the lawn look, although it will still need breaking up with various types of bushes and weeds. It does show I needn't have worried too much about the colours of the base scatter though, the result of the static fibres being pleasingly dense and even. 

And here are the grassy strips along the edges of the track ballast. These seem to have worked well. I've tried not to overdo these, especially in busy yard areas, I'm not aiming to show neglect. 

Tuesday, 11 February 2020

Growing grass

In the last update you might have noticed the ground had gained a layer of green, more progress has since been made.


The base layer is normal scatter flock, sprinkled over dilute PVA glue using two or three shades of green, which prevents bare patches being seen through the static grass. Some ground-foam type "foliage" flock is used too, to increase texture.


Next up is the "static" grass, and this is my first time using my new Peco applicator - this proved more effective, and looks a lot safer, than the cheap tea-strainer-meets-fly-swat I was using before. I also used Peco "basing glue" instead of PVA - it stays tacky longer than PVA, and is a better consistency than dilute PVA. Again the grass is mixed from two or three shades of green, plus some yellow-brown, including long (6mm) fibres of straw colour.


Now it didn't all turn out looking this good - this was one of the later areas to be done and maybe I'd got better at it! I found it best to apply the long straw fibres first, not too dense, and then a mixture of shorter greens together, and here it has worked very well.


I've also added some bushes and undergrowth using a variety of materials, including rubberised horsehair, foam products, and even lichen. However, the best results were with a fibrous material, teased out, sprayed liberally with cheap hairspray, and with scatter or ground foam (or both) sprinkled on. It's quick, easy, and as you can see here, surprisingly effective.

Monday, 1 October 2018

Grey and Green

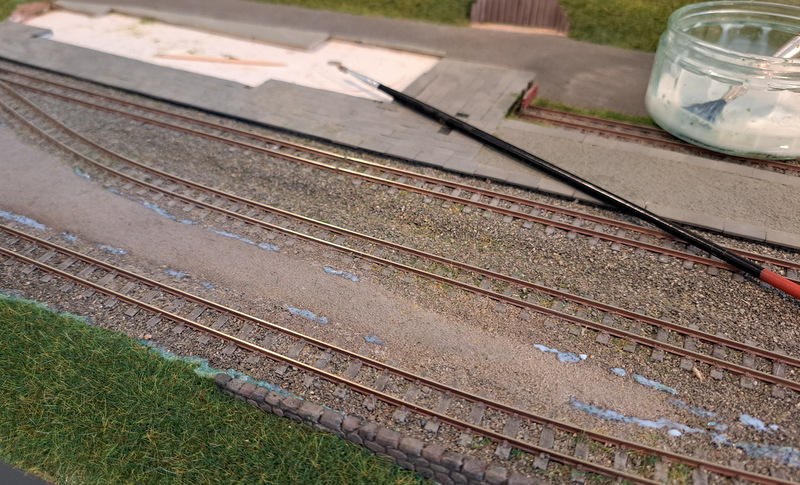
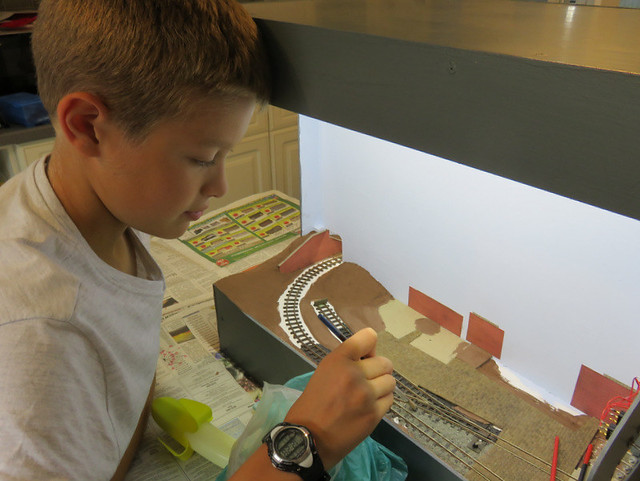
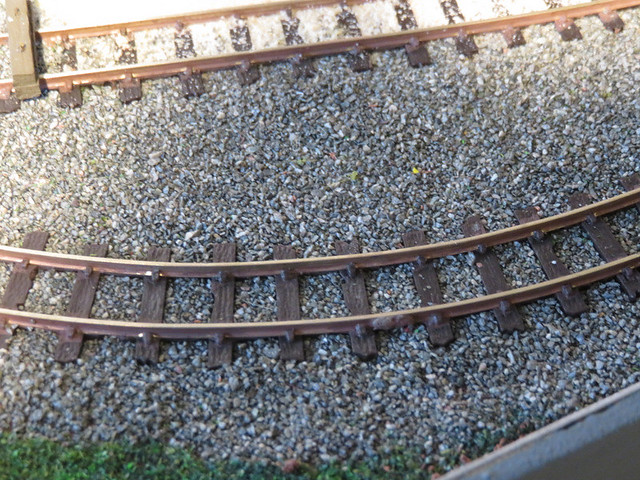
The next step with Slugworth was to ballast the track, using fine granite. It's one of those jobs that many find tedious, although on a small layout it is not too onerous. In fact Joshua rather enjoyed ballasting, leaving me to tidy up the edges and carefully do the points.

IMG_5266

One tip we found useful was to tap the rail with a spoon, which shakes the ballast off the sleepers into the gaps. When in place the ballast was misted with a fine water spray, then dilute PVA dropped in.

IMG_5592

After it was all dry a wash of thin brown acrylic paint was liberally applied over ballast and sleepers to tone it down a little.

We then moved on to grass. First we applied a layer of conventional scatter as a base layer, then on top of that, static grass. My cheap "fly swatter" applicator is sufficient for a small layout like this. We mixed different colours and lengths of fibres to get a realistic look.

IMG_5652

We tried to vary the grass mix according to the use of the land, with longer strands and more lush looking grass on embankments for example.

IMG_5645

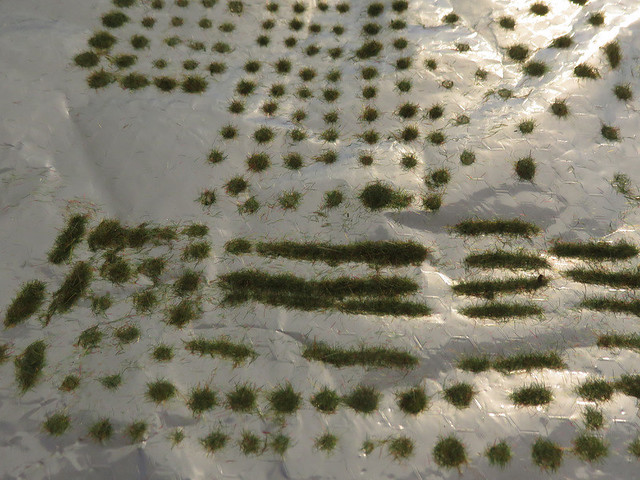
Finally, while the static grass was out, we had a go at making our own tufts on a sheet of tin foil. It kinda worked, but the PVA glue blobs were very difficult to remove from the foil, and often showed up under the tuft. Perhaps there's a better glue to use for this?

IMG_5648

Sunday, 15 September 2013

Going Green!

With an impending house move bringing the effective deadline for this project ever closer I have been making progress on both layout and locos. This is an exciting time for the layout build as it quickly progresses from bare boards to a scenic layout. The first step in making it green is the grass: first I give the ground a layer of traditional flock as a base layer, then apply static grass using the cheap applicator I got last year. A blend of shades and lengths works best, with longer grass a straw colour.

 
Next up comes the bushes. I use a variety of methods, here rubberised horsehair covered with ground foam and flock makes quite effective brambles.

 
While here I've used lichen, teased out carpet underlay, with various flocks and foliage, and clump foliage. PVA neat and diluted is used, but cheap hairspray makes an effective way of sticking flock to bushes.

 
I felt the layout needed some trees to reinforce the feeling of being an industrial site surrounded by woodland. The method I use is the twisted wire approach, here I used wire that has been sold for this purpose but stripped multi-strand mains cable is just as good. This is surprisingly easy to do and each tree takes about 15 minutes to make up, though with hindsight I could have added a few more branches lower down. Once the shape has been made up I covered the trunks in PVA glue - about three layers helped hide the twisted wire.

 
Foliage fibres are teased out and stuck onto the wire with PVA, then covered with Woodland Scenics foliage, again teased out and stuck onto the fibres with the hairspray. More hairspray is applied and extra ground foam in a similar shade is added, including from underneath. The small tree uses a plastic moulding I picked up at an exhibition.

 
I haven't planted the trees yet as they will be close to the edges of the board and get in the way! However I have obtained a few accessories to dress the scene. I've failed to find a suitable fork-lift truck in 1:43 scale, so started looking for other suitable road vehicles, this Mk1 Transit by Vanguard should be perfect for setting the period between the late 60's and early 80's. It comes heavily weathered (though not completely convincingly to be honest), but was far more suitable than other available liveries. The pallets and concrete products are from Skytrex, a bit pricey but are ideal for the scene.

 
Posted by Picasa

Thursday, 6 October 2011

More greenery ...

Yes, I have been busy with trees and grass again - but this time for Awngate. There's not a lot of greenery on the layout, but what there was wasn't that convincing. So I set to with the dilute PVA glue, static grass and the Noch puffer bottle, adding layers of the static grass over the existing flock. I wasn't that impressed with the grass effect on Landswood Park, but over the (slightly) larger areas here it seems to have worked more effectively. I've blended in longer yellowy grass over a greener grass, which I think has been reasonably effective.


The trees were described a couple of weeks back, they have had extra flock added to give variety of colour, and have been planted to create deliberate view blocks to the scene. Hopefully their placement will look natural, add visual interest, and by splitting the scenes may even make the layout appear bigger. A few more bushes and extra texture to the existing ones has helped too.


I have also given the track a couple of thin washes of muddy brown to tone down and colour both the sleepers and the ballast. The darker brown of the sleepers and the grey of the ballast still show through, but the overall tone is much more natural now.

Where the engine shed doesn't (yet) stand I have grassed over the end of the siding, and a large bush from rubberised horsehair and ground foam flock helps to disguise the end of the layout. This corner is barely visible from normal viewing angles anyway, so the engine shed can wait for another time. Anyway, I'm stuck for ideas as to what it should look like.


I think the result is that the greenery is less "flat" and is much more convincing than it had been, and the track blends it better. Next a few more details are in order.


Posted by Picasa

Thursday, 30 October 2008

A Model Railway Corner

First a picture of the layout in it's surroundings. This layout has been built to live in the dining room and fit as part of the furniture, which I think it does well, though the Ply could do with staining to match. However the recent change has been that I have acquired the shelves above for my railway books (well, mostly). With the bureau cupboard storing my modelling bench, toolbox, and some materials, it is virtually a model-railway corner!

The reason behind the reorganisation is that we are expecting a second child in April - and that of course means the spare bedroom will be required! There will be more sorting out, decorating and DIY to come I'm sure! It also means that the deadline for the Sussex Downs members day (7th March) is more important, as after that I'm likely to have less modelling time for a while ...

The second picture shows the advantage of having the layout so accessable, that working on it is so easy, even just an hour or two at a time. Here the layout is slid forward and the lighting beam removed, to make it easy to work on. I've recently formed the gravel and cinders yard areas made from layers of sand and painted them with acrylics, then formed the the contours of the small parts of land not rail, buildings or yard, with polyfilla/powder paint and newspapers over the polystyrene. As shown in the photo the first layer of grass scatter has been applied too, so the scenery is really progressing.

Posted by Picasa