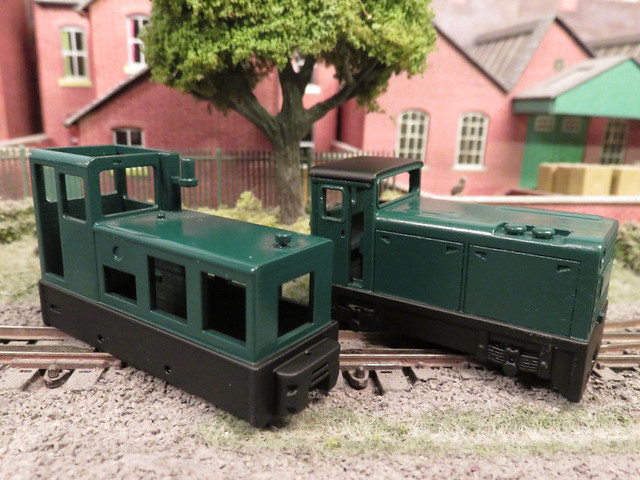
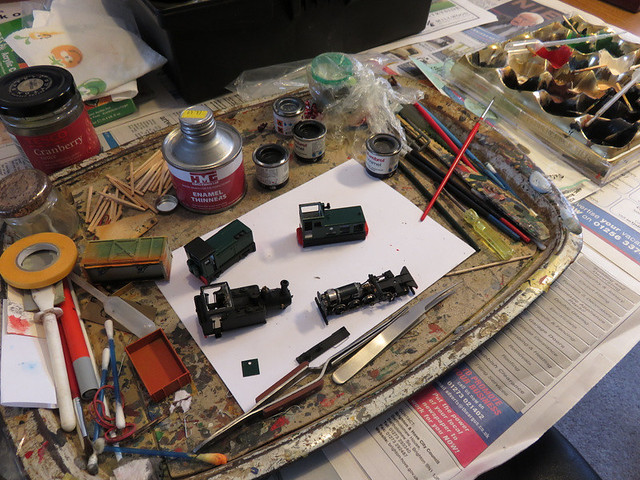
After the push to get Whittingly ready for the deadline, then prepped for the NEC, it was time for an easy and quick project. This Fourdees kit seemed ideal. The 3D printed body kit "Whiting" is a tram loco inspired by Hunslet designs, and fits the Kato 109 chassis.
Very little prep was required. I cleaned up some printing marks and burnished some faint layering on the boiler. I also opened out the square coupling pockets for Microtrains couplings, this took a few minutes with a file - it's not often that fitting Microtrains is this easy.
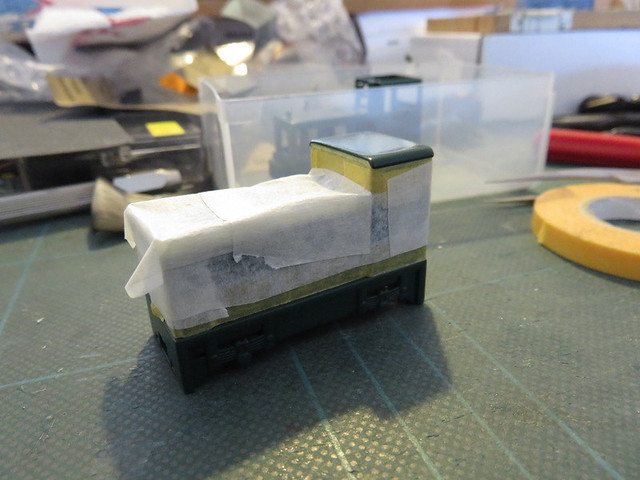
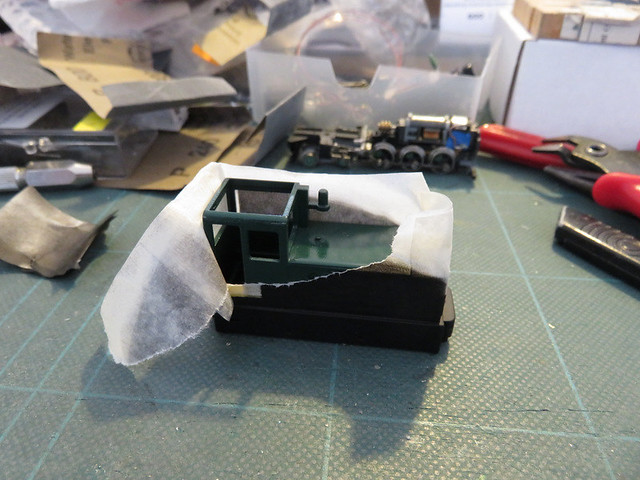
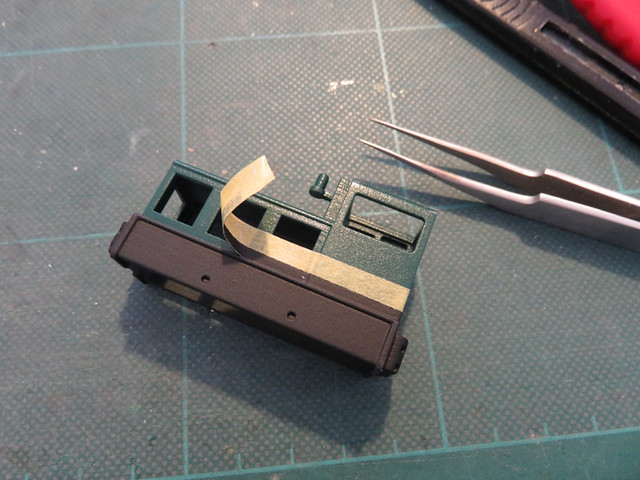
The body, plus separate roof and backhead detail, and some crew, were primed. One of the crew is a poor quality whitemetal casting of unknown origin, but his face won't really be visible and his weight might help. The other is from my favourite recruitment agency - Dapol. The body was sprayed with a Halfords green enamel aerosol, which turned out to be problematic as the can seemed to be leaking propellant, clogged the nozzle, and when I realised I'd missed an angle it would only dribble. Fortunately, I could dribble some into a jar and touch-up the final bits with a brush!
The remaining painting was done with acrylics and a brush. The backhead detail is rather good, the half-height cab rear means there is a chance of seeing it though the crew mostly hide it.
The resin body needs some weight, which helps the light chassis too - the Kato 109 runs smoothly enough but doesn't have much inertia. Roofing lead was cut and squashed to fit through the gaps into the side tanks, and a length was stuck under the boiler.
Chassis fitted, and couplings installed with the screw through the coupling pocket. I had to use long-shank Microtrains to clear the nice cowcatchers.
Crew stuck into the cab before fixing the roof (with PVA so it can be removed if needed). A little crushed coal was added over the moulded stuff in the bunkers.
And complete. A very light weathering of water soluble oils has been applied, more may follow but I think it will stay reasonably clean. This view shows how good the print is, with no obvious layering, 3D printing has come a long way since the early days. The handrails and cab roof are a little clunky, perhaps the only clues of it being a 3D print?
I took a couple of photos with the new camera too.
And the final shot, a viewpoint on Loctern Quay that has been very difficult to capture due to the depth of field needed to get both loco and background buildings in focus. The new camera, set to F32, manual focus, and a long exposure on a tripod, can do it with no post-processing.
As expected, this kit has gone together quickly and easily, with most of the time painting it. It's a good looking and smooth running loco, which I hope will fit in well on Loctern Quay. The Fourdees kits are a great introduction to 009 loco kits, especially using the good value Kato chassis.