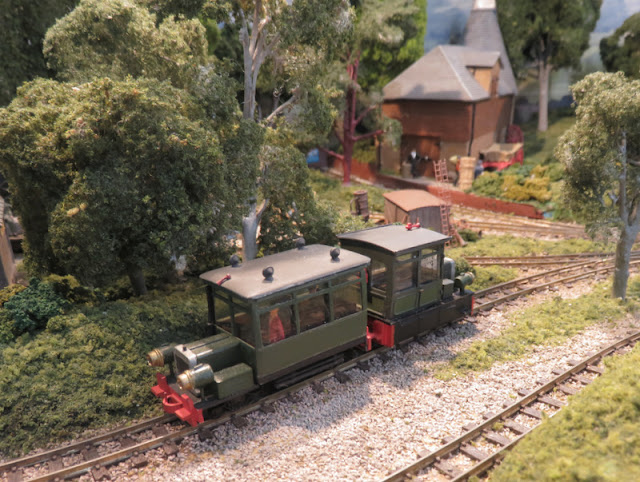
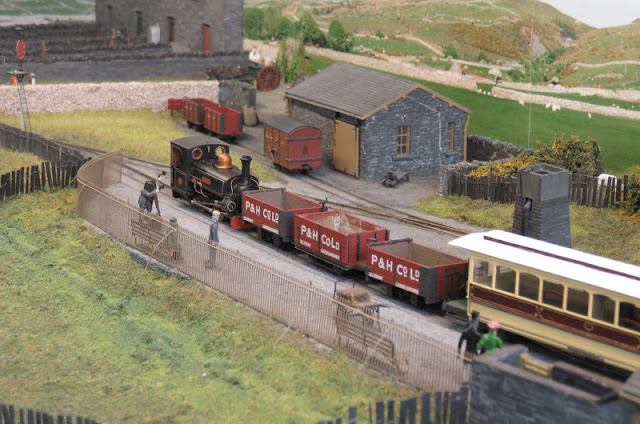
Encouraged by success fitting couplings to the bogie Hudson wagon, I decided to have a go at another kit that has sat in the pending pile for a while because the bogies looked challenging for couplings. This is the Narrow Planet kit for the crew van used at RNAD munitions sites, and now found on several preserved railways for permanent way duties. It's a multimedia kit with 3D printed chassis and interior and an etched brass body, but the bogies are Dundas plastic mouldings used with small modifications. Here the parts are laid out, but I've already blackened some of the smaller parts on the etch, and tackled the first bogie.
Although the bogies are different to those in Hudson bogie open I used the same "under-set" (type 2004) Microtrains couplings. These are a little more fiddly to make than the standard 1015 type as the cover for the draft box doesn't clip into place, but requires a touch of a soldering iron to melt it into place!
The low-set coupling body can then be set under the bogie frame, after cutting and filing a rebate and drilling a hole for the screw, which needed shortening. I tried to cut down a screw with a cutting disk in my Dremel but it just bent! I realised it must be a soft metal, so I cut it down with side-cutters, which worked just fine.

With the bogies sorted far more easily than I'd originally feared, it's on with the body, which folds up from the brass etch in two parts that join at the door recess. I opted to solder them together, though I guess epoxy would have worked. The parts slot together, so I smeared some flux along the inside edge and placed three small slices of solder onto the flux, then it just needed a touch from a tinned soldering iron until the solder flows into the join. Actually even my tiny pieces of solder were too much as some solder appeared outside the join, but was easily cleaned up. The mini clothes peg adds a little weight to the upper part but also allows me to hold it with a finger without burning myself during soldering, while the pliers are just weighting the body down.

Handrails are also bent up from etches, and I decided to solder them too. A piece of thin card was slid behind them to space them from the bodyside, and a sprung tweezer used to clamp the handrail in place. With the piece turned over flux and a tiny piece of solder were added behind, then a touch of the iron to fix. The windscreen wipers were added in a similar way. After the soldering is done the body was cleaned in Cif to remove any flux residue.

The assembled body slots neatly onto the 3D printed chassis/interior, which I'd already given a coat of primer. I've also glued strips of lead under the seats. The odd shapes of brass strip under the roof form the vents and tabs to locate the roof, it's a complex piece of origami but cleverly folds up, and I soldered it in a similar way to the other parts. It did need care to get central though, which matters for the roof to sit central on the body, and at first it was slightly skew. Fortunately it was fixed by levering the part sideways with a screwdriver while softening the solder with the iron.
In the end it wasn't a difficult kit to put together, and after some thought (and selecting the right type) the couplings were not challenging to fit. At present the roof is loose and the body just slotted onto the chassis, which will make painting easier.
It's an unusual but attractive little vehicle which will add interest to the permanent way train for Hexworthy, in a preservation setting. My next challenge is what colour to use? Most of my wagons are grey, but I did add yellow ends to the excavator wagons. Perhaps this could be yellow all over, like this one spotted at Amberly - though I'm not brave enough to try the stripes!
I might also tone down the weathering, and I'm really not even sure what colour the van on the right is...
However, I rather like the blue seen on this 4-wheel version, also at Amberly. Maybe blue with yellow ends? Or perhaps green with yellow ends?


