With the body colour airbrushed I opted to brush paint the remaining colours, it really didn't seem worth the effort of masking up when the job is easy enough with a brush. Smoke-box, footplate, hand-rails, and chassis frames got a coat of matt black but with a little grey and brown added to soften it. I find the Humbrol black doesn't harden well either for some reason, so mixing it with other colours helps get a good finish. The red bufferbeams were painted white first, to give a good base for 2-3 coats of red (which typically gives poor opacity). The inside of the cab was painted a slightly dirtied off-white. Finally a little dry-brushing of gunmetal on the handrails and cab steps gives a little life. The colour still seems bright though.
The first step of weathering is a dirty wash mixed of black and brown to taste, and well thinned. This is liberally washed over the model, and within a minute or two lightly dabbed or wiped away with a piece of kitchen roll or cotton bud. This leaves oily shadows around details like the boiler bands, and can be used to create streaks and accumulated dirt, it also darkens the colour (depending how strong the mix and how many coats are used) and can tone down a shiny finish. A little dry brushing can emphasise some streaks.
Looking better already, but for more depth and texture I use weathering powders, stippled on and worked in, then brushed off, with a stiff (cheap) paintbrush. Sooty black is applied to the tops of the tanks, boiler, smokebox, and cab roof, while a grey/brown is applied to the lower edges of the body panels and worked up. The direction of brushing can cause streaks, while working powers into crevices can add effect - such as the coal dust around the bunker and the gap between bunker and tank. Applying the powders is easy and quick, they can be repeated or wiped off to get the effect you want. At this stage the appearance is very dusty, and slightly over-done.
The final step is the coat of Testors Dullcote varnish. I find the stuff excellent, and easy to get a good finish. As can be seen the weathering powders are toned down a little, but also sealed so they do not mark or come off with handling. The varnish gives an even, flat, almost but not quite matt finish that is most lifelike I think.
Finishing involved assembly of the frames and the cylinders to the chassis, then the chassis assembly to the body, which was surprisingly fiddly. I checked the piston rods moved freely and coated them with graphite, and ensured the chassis was running smoothly at each step - at one point the flywheel was rubbing on the cab front but I don't think the chassis was aligned properly, there's now a piece of card between motor and cab to ensure it doesn't happen again. The cab roof was fitted with a few spots of PVA glue on the tabs I'd soldered to it, though it doesn't seem to want to sit perfectly over the cab sides, the vacuum pipes (which I'd painted separately) were added with a spot of superglue. Finally the worksplates were stuck on (with PVA) and a crew added - Dapol figures that I'd painted at the same time, and treated with a dirty wash wiped off to give shadows to clothing.
It's surprising how much the paint has darkened and the loco has taken on life as it has been weathered and detailed. The end result looks at home on my layout, and the Minitrains chassis runs sweetly too, so I can see this being a popular choice with the loco crews (even if it isn't clean!).
As a close, while I was checking the layout and locos for the Pevensey show this weekend, I couldn't resist a line-up of the locos used on the line. The Hudswell Clarke is centre front, with the other non-tramway locos, the centre and rear lines have the skirt-fitted locos. There are a mix of shades of green as well as other colours, and different levels of weathering, but somehow they all fit well together.
Michael Campbell's blog about his model railways. Building model railway layouts in 009 (OO9) scale
Thursday, 21 July 2016
Sunday, 17 July 2016
Awngate at Pevensey Bay
Next Saturday (23rd July) I'll be taking Awngate to the Pevensey Bay MRC Exhibition. I've not been to that show before, but from the website there will be a good few layouts, and lots of narrow gauge!
Time to check out everything works, including the exhibition fiddle yard. If you get along to the show do say hello.
Time to check out everything works, including the exhibition fiddle yard. If you get along to the show do say hello.
Friday, 15 July 2016
Airbrushing
The Hudswell Clarke has been awaiting a paint job for some time, it was last seen having coats of primer and gaps filled. So it seemed a good time to try out my airbrush. So the "spray booth" (cardboard box) was set up and the compressor connected up. Some green paint was diluted with thinners to a milky consistency, transferred to the airbrush cup with a pipette, and off I went.
I have to confess it isn't as easy as it sounds in George Dent's book (though that has been very useful). I had a few problems with the airbrush clogging up, perhaps I need a strainer as George suggests though I was careful mixing. It took a while to get used to the action of the trigger, and to get paint flowing without getting too much. I also struggled with corners finding paint built up on the edge of the side that was at 90 degrees to the side I was spraying. However, after rubbing down with fine wet-and-dry paper, and four attempts at spraying, I was happy enough with the result - though I'm not sure I couldn't have got as good a finish using a brush with less hassle!
You might notice here the "handle" consisting of a coffee stirrer passed through the coupling pockets and held with the coupling retaining screws. It makes it easy to spray and detail paint the loco without touching it.
At this point I got a bit doubtful of the colour I'd picked. I don't have many greens in my collection so I think this is the same as I've used for coaches in the past, but it seemed to look rather pale and bright (though appears darker in this photo). However I've pressed on, hoping the black parts and the weathering will tone it down...
Labels:
009,
Airbrush,
Hudswell Clarke,
loco,
painting
Monday, 11 July 2016
Amberley Rail Gala 2016
This year there were more than enough volunteers to man the 009 society stand. However with the weather looking fine and my Son up for a visit we went along just to enjoy the trains and exhibits, which made it a much more relaxed day than usual.
The format was the same as always of course, and while there were some very nice layouts on show, most have been there previous years. Trade wasn't great either, while there were a couple of good book stalls I couldn't find anywhere to buy basics like paint (though my son picked up a wagon for his train set, so he was happy!). However while it would be nice if the model railway exhibition were better supported, the main attraction at the Amberley rail gala is the real railway.
The format was the same as always of course, and while there were some very nice layouts on show, most have been there previous years. Trade wasn't great either, while there were a couple of good book stalls I couldn't find anywhere to buy basics like paint (though my son picked up a wagon for his train set, so he was happy!). However while it would be nice if the model railway exhibition were better supported, the main attraction at the Amberley rail gala is the real railway.
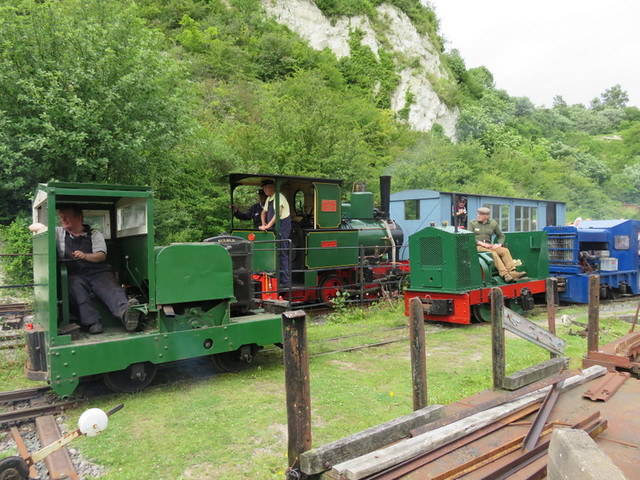
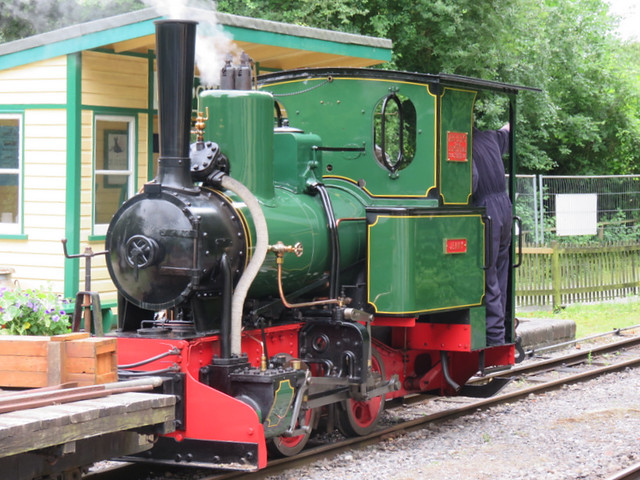
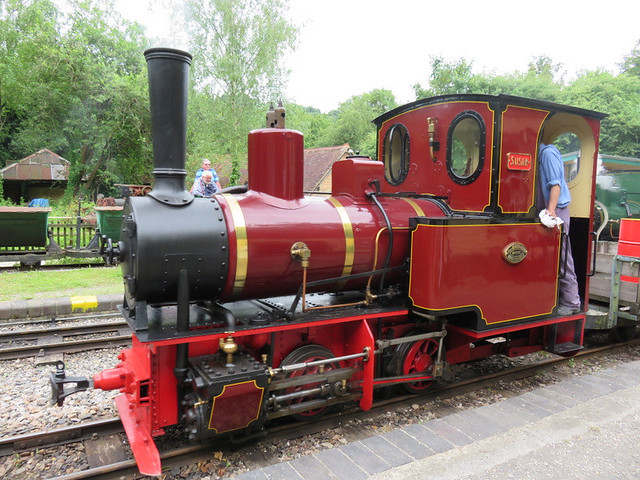
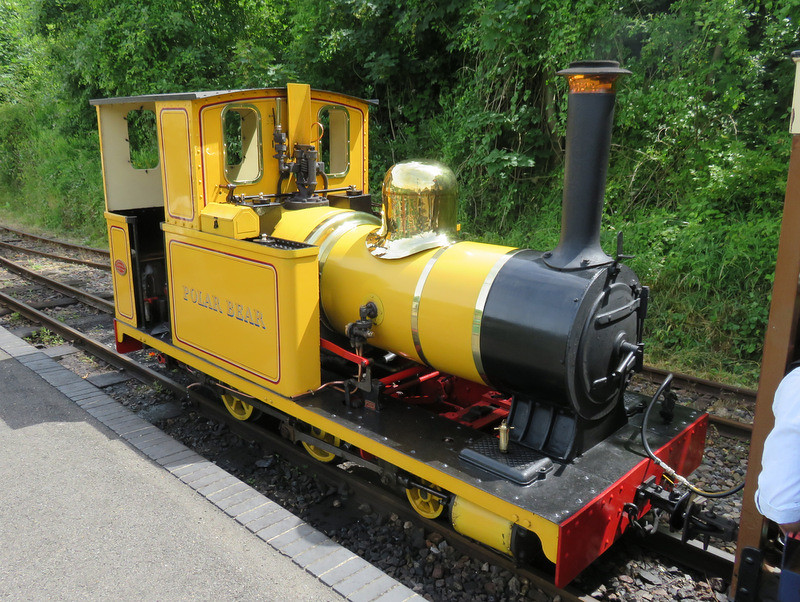
This year had relatively few visiting locos (especially compared to last year's Lister-mania event!) however two fine steam locos were visiting from the privately owned Richmond Light Railway in Kent. These were running both demonstration freight trains and the passenger trains too - although double-headed as only Jenny had air brakes. It has to be said that Amberley is not exactly short of locos anyway, and can put on an impressive display of industrial diesels, while it is always a delight to see Polar Bear running!
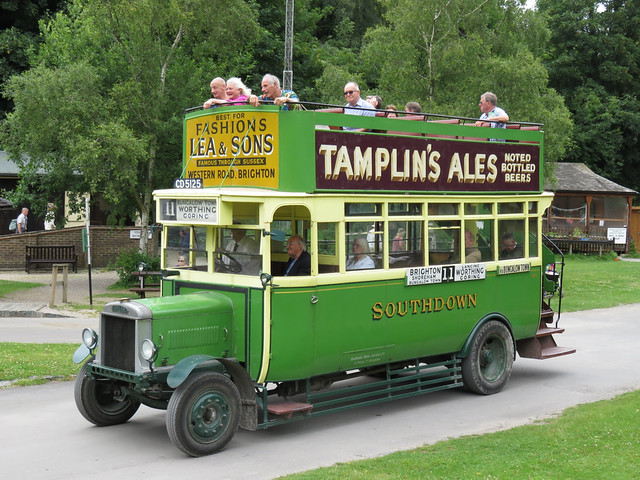
Having more time meant that as well as riding the trains and the old bus, we could visit some of the other exhibits around the museum, which are excellent. My son enjoyed printing in the print shop, playing with the phones in the telecoms exhibition, and the demos in the electricity hall. So a good day out and well worth the trip.
You can see more photos here - covering both full size and model trains!
Subscribe to:
Posts (Atom)


