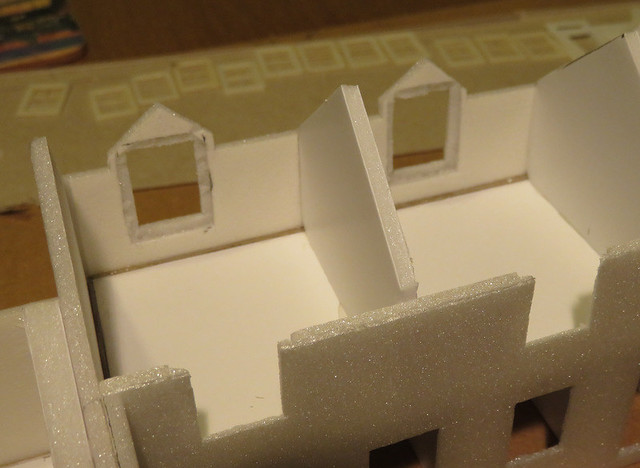
In the last post on the station building I'd decided to cut out recesses behind all the windows to take the frames to a suitable depth. It took a while, but once complete I assembled the walls around the core of walls and floor.
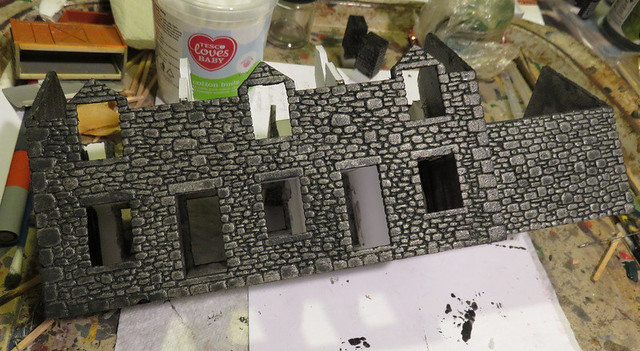
The next step - following the small practice pieces - was to start scribing the stonework. For this I simply used a 0.5mm propelling pencil, which gives a suitably fine mortar course. I used some photos of Dartmoor buildings to give an idea of size, shape, and irregularity. Even so I had to concentrate on making the stones look realistic, not like graph paper or the strange "squashed cushions" it is all too easy to end up with. I was given some good advice by Daniel Caso on the NGRM forum - "draw the stones, not the mortar lines" - and by ensuring I drew around every stone I found they looked much better.
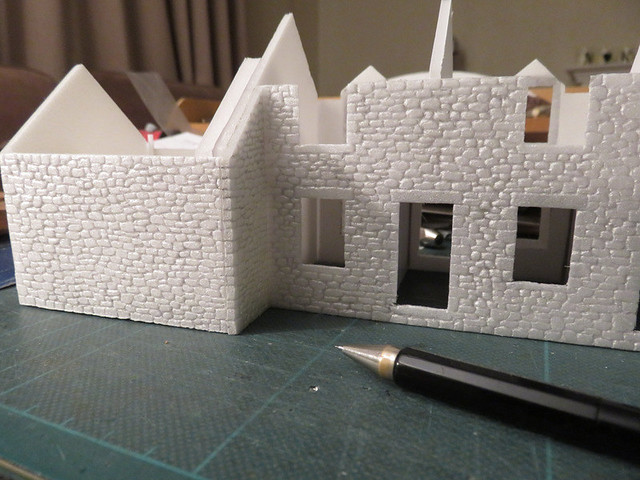
Did I say this took ages? Short bursts in evenings worked best, but it was over 2 weeks until I finished all the walls.
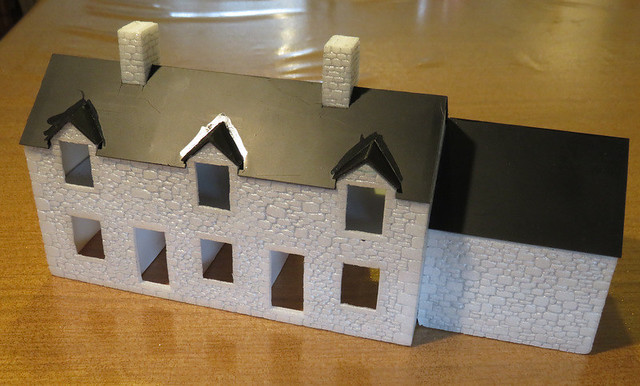
Next up was the roof - and it turned out to be a tricky shape! I used black plasticard, and made it in one piece with lots of bracing. It will be glued down eventually, but it will need to be removable for a while yet. The dormers were, er, challenging...
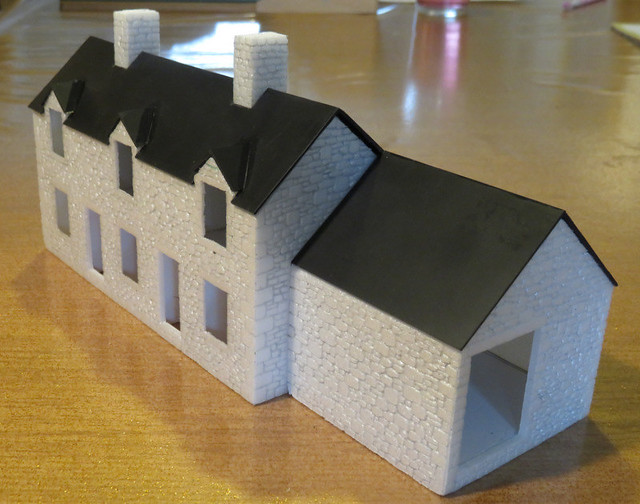
Finally, I've made a start on the painting. I've made a start with a coat of grey acrylic mixed with PVA glue, the aim being to seal the surface and strengthen it, and also ensure no white shows. The plan now is to dry-brush colours over the stones, and possibly lighten the mortar with a light wash, but to be honest I'm making it up as I go along, and hoping it works!
Michael Campbell's blog about his model railways. Building model railway layouts in 009 (OO9) scale
Tuesday 20 February 2018
Saturday 3 February 2018
Panel games
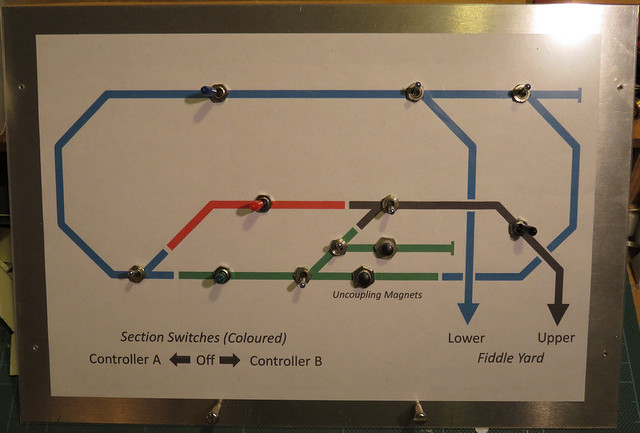
Here's another of my control panels. Not one of my layouts though, but the latest project by the Sussex Downs 009 group - and at about the size of an A4 sheet of paper, the largest I've made.
The principles are the same as most of my layouts though, DC "cab control" (two controllers) through colour-coded sections, which are mounted along with point switches on a mimic panel. The panel is a sheet of 2mm aluminium onto which is mounted a printout of the diagram, and covered with a sheet of clear plastic - 20 thou sheet in this case due to the size, but thinner packaging plastic does smaller panels. So, now we just need to wire it up.
Subscribe to:
Posts (Atom)