Showing posts with label LED. Show all posts

Sunday, 2 June 2019

Adding light to Hexworthy

I've already described making the lighting pelmet, which was then painted along with the layout itself. A little secret, I've already described the lights too. Last year I got a strip of "Natural White" (4000K) LEDs to experiment with, with this embryonic layout in mind. However in the event it was my son's micro layout Slugworth that got to use them first. That did show the lighting was very effective and a good colour balance, and only used 1m of the 5m length, so I had plenty left for Hexworthy.

The strip is self-adhesive and can be cut at the marks every 3 LED's. Easy enough, but it didn't stay stuck to the ply even though it is painted, and even after a layer of PVA was tried first. The solution was to spread contact adhesive over the wood, then when it was tacky stick the self-adhesive strip to it. So far that seems firm enough.


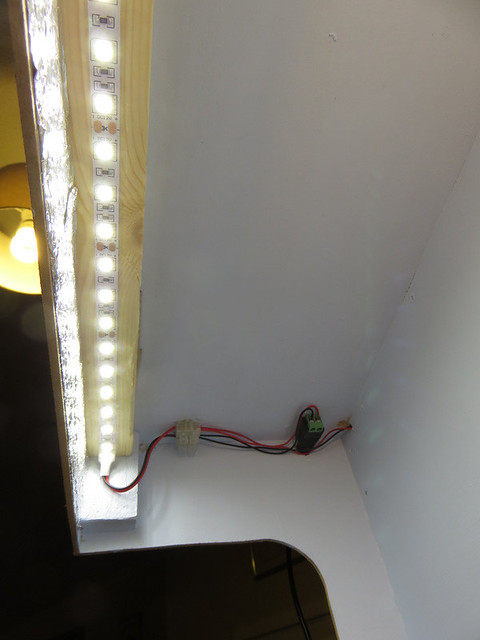
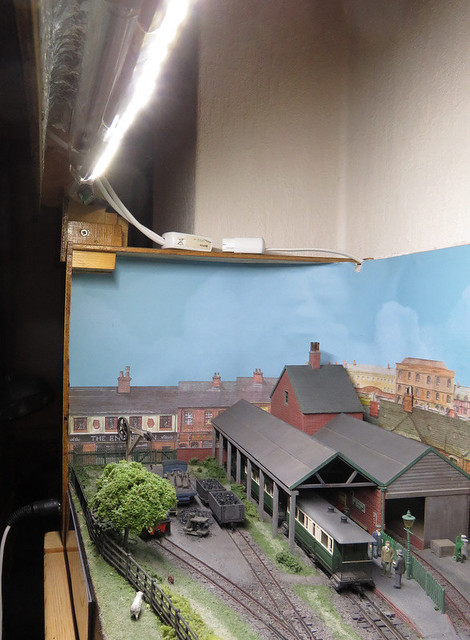
The "holy grail" of lighting a "cameo" shelf layout like Hexworthy is even lighting, including right to the front of the layout. It's difficult because we want the lighting neatly tucked out of sight in the pelmet, but really it needs to be high up and well out front - where the viewer is. LED strips are good at distributing light with minimal shadows but putting them right over the models only lights them from above. I chose to add the main strip towards the back of the pelmet bar, putting it about 2" or 3" back over the layout facing down, then a second strip split between the front fascia facing backwards, and the underside of the beam facing downwards but right at the front of the layout. Hopefully this puts plenty of light at the front. Ideally the strips would be at an angle facing the layout, but I couldn't find an easy way to do this. A hot glue-gun was used to cover the ends of the strips, securing them and protecting the soldered joins, and also to secure any loose wires.


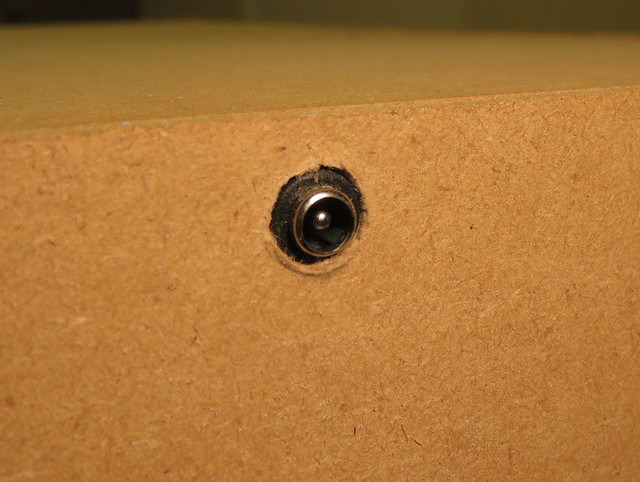
The view of the whole beam shows the arrangement of strips, plus the foil I pushed into the front edge to hopefully reflect and diffuse any stray light. The strips were joined by soldered wires, taking care to match the "+" and "-" marked on the strips (I hadn't thought of this when sticking the strips down so some are the other way round, not a problem as the wires can be crossed provided polarity is matched), and joined by a terminal block at one end. I added 5.5x2.1mm DC connectors to both ends of the pelmet - because it might be useful being able to plug the power in at either end - and bought cheaply as a pack of 10 pairs I might as well use them! These connectors have screw terminals but no way to secure the socket in place, so a big lump of hot glue is used, along with a couple of screws so they can't pull away.


As there is more lighting than Slugworth I thought Hexworthy needed a bigger power supply. The LED's use about 1A per meter, not knowing how many meters I'd use I went large and got a 6A supply - plenty as it happens, but I'd rather know it isn't overloaded. It wasn't expensive, and a sealed plug-and-play unit is convenient. I was disappointed to find it fitted with a 13A fuse though (the mains side is rated at 1.5A), I've swapped for a 5A for now as that's the smallest I had in, but will find a smaller fuse.


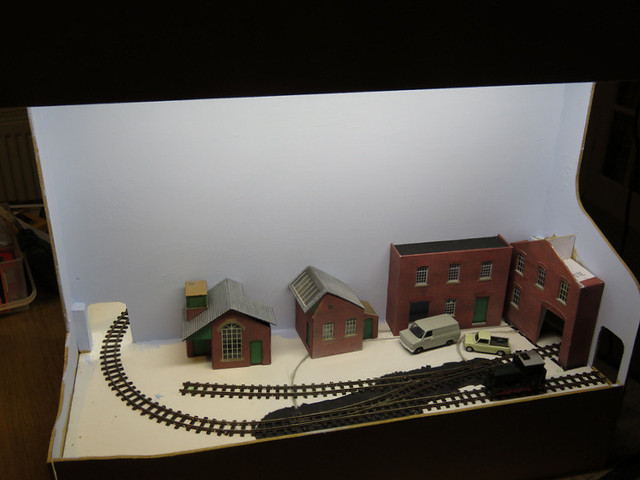
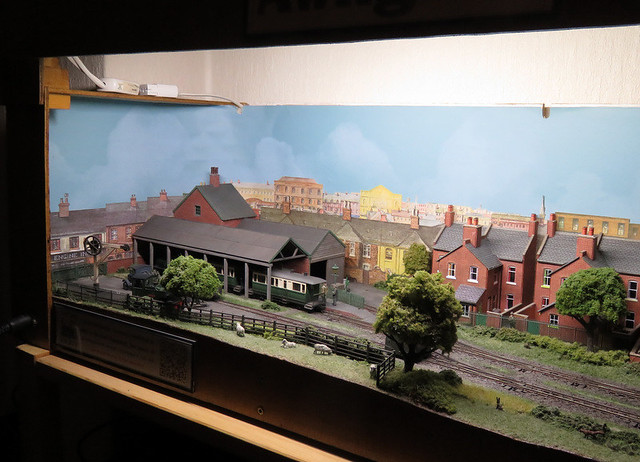
All plugged in, and we have light.


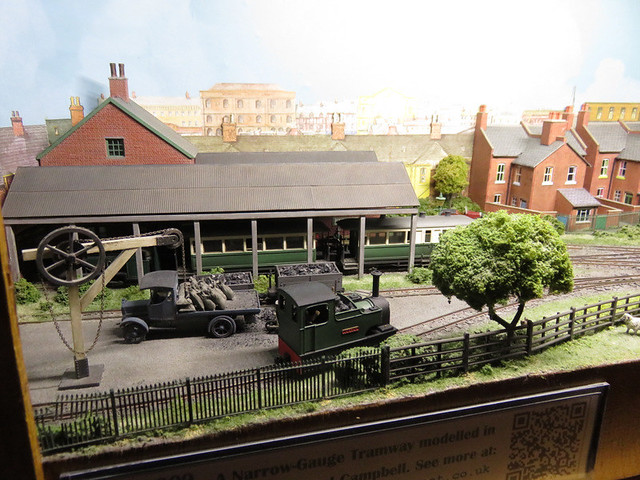
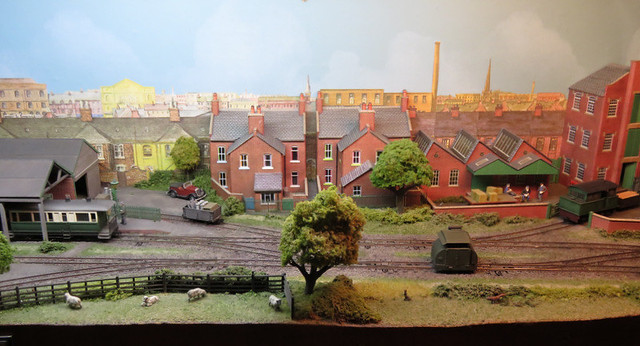
In situ in the dining room, and with the building in place, the light is bright - actually, maybe a bit too bright. There is a reasonable amount of light reaching the front of trains on the station track, even with the lighting bar in the flush position, though as expected moving the lighting bar forward really helps with light on trains on the front siding. I don't think any further light will be needed at the back of the layout.


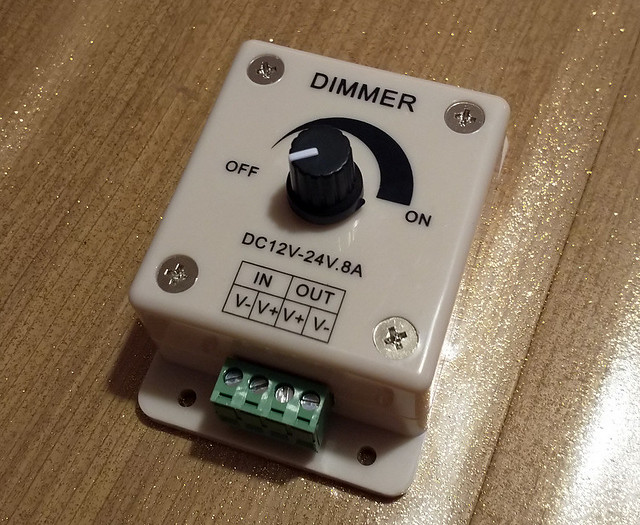
When I bought the light strip I also got a dimmer switch, being ridiculously cheap and thinking it might come in useful. The easiest way to try it seemed to be to attach in-line plug and sockets, and fit between power supply and lighting.


It's not easy to illustrate the difference with a photo, which exposes for the amount of light, but it does allow the light to be dimmed without affecting the distribution or colour of the light. Incidentally it doesn't dim all the way to off, but switches off from a low brightness. The dimmer allows the light to be adjusted to the light in the room, but I may yet experiment with just dimming the rear strip while keeping the front strips brighter.

Tuesday, 18 September 2018

Illuminating Slugworth

In a small interlude from scenery, we fitted the layout with lighting. Back in April I revealed I'd experimented with 4000K "Natural White" LED strips, with a view to fitting them to Hexworthy. That's true, but I also had this little layout in mind, as Joshua was adamant it needed to have a lighting pelmet. So this is the kit we got:
  • Natural White 4000K SMD 5050 LED strip, 5m, 60 LED's per meter (link)
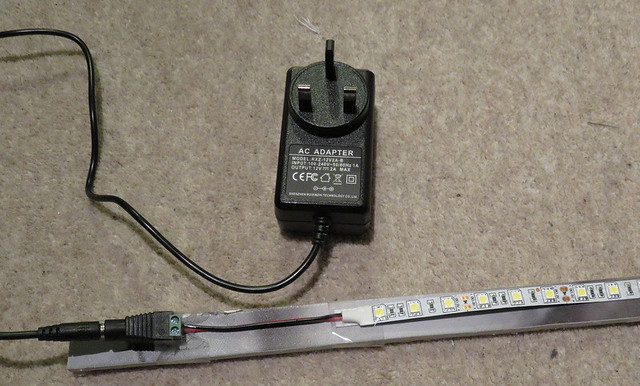
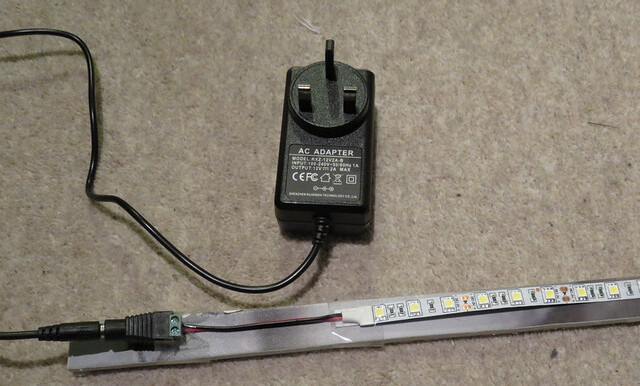
  • A 12V 2A Power Supply Adaptor, which should be good for about 2m of LED's (link)
IMG_4605

We cut enough strip to fill the length of the layout, and stuck it to a strip of wood under the lighting pelmet, as close to the front of the layout as possible. We also stuck foil to the inside of the fascia to reflect light back into the layout.

IMG_5057

The power adaptor came with a socket with screw terminals, so as you can see above we ran the wires back to that. I drilled a hole in the end of the layout big enough to push the socket through, and then stuck the back end in place with hot glue. Simple but neat, from the outside at least.

IMG_5060

The result is plenty of light, while the Natural White doesn't lean too much to the blue or yellow, giving a good daylight impression. We'd allowed for fitting an extra strip or part-strip if needed, but decided that wasn't necessary.

IMG_5061

The outside of the layout has also been painted. We used grey primer from Wilkinsons, and decided that the dark grey was a nice enough finish to leave it at that!

Tuesday, 17 April 2018

Lighting with LED's - experimentation

I've been looking into LED lighting for layouts for some time, with the build of Hexworthy underway. They offer distributed light in a light-weight flexible format, with low power consumption and heat output. There are potential pitfalls though, I've seen layouts far to dimly or unevenly lit, or worse still, with an unnaturally blue light (I've even seen a layout actually lit with blue LED's!).

One problem is that "white" LED's are not often white, the options seem to be "cool white" at the bluer end of the spectrum (6000K), or warm white (3000K) which is much more yellow. I find the cool white is too blue, and while the warm white is more preferable it is rather too yellow - more Mediterranean than British! However I recently found that it was possible to get "Natural white", which at around 4000K is somewhere between the two.

IMG_4605

So here's what I bought:
  • Natural White 4000K SMD 5050 LED strip, 60 LED's per meter (link)
  • A 12V 2A Power Supply Adaptor, which should be good for about 2m of LED's (link)
The adaptor came with a socket fitted with screw terminals, allowing easy connection of the LED's. I cut about 50cm of the LED strip and stuck it to a strip of foamboard to experiment.

IMG_4604

This assembly was then roughly taped to the lighting beam above Awngate, at a slight angle towards the rear, to see how it looked.

IMG_4603

The result looks good, the colour does look "natural" to me, and while far less yellow than the tungsten strips used on Awngate, it does not have the blue tint of cool white LED's. Placement may be better - objects near the front are in shadow - and shadows are a little harsh, but otherwise light distribution looks OK.

IMG_4602

The effect in a darkened room looks good to me. I wasn't sure if it was bright enough at first, so how does it compare to the existing lighting?

IMG_4656

This shows the layout lit with the LED strip on the left side, and the existing 30W tungsten strip lighting the right hand end (the one at the left end is switched off). The difference in colour balance is obvious, the tungsten light is much more yellow - cheerful and summery perhaps, but less realistic. Brightness seems reasonably consistent to me, although the LED light may be less well spread, and shadows are perhaps a little sharper. So a 12" deep layout may be adequately lit by a single strip of LED's, but using more lights and possibly use of reflectors and diffusers might spread the light better.

2018-04-16 22.21.08

I also got this dimmer switch (link), mainly because it was so cheap. I wonder if it may be helpful if adding more LED lights to dim down to what is needed. Also I suspect that the small power supply I got will do for very small layouts, but I may need to get a bigger power supply for larger layouts. More experimentation to follow, but I am happy with the colour balance of these lights.