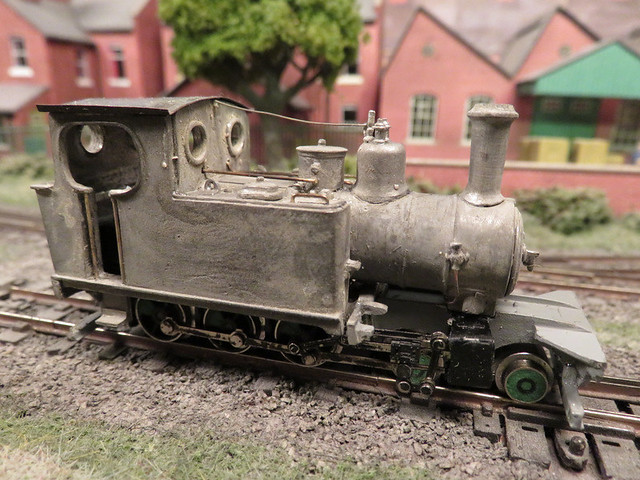
The body went together with little problem, and proved to be well detailed. I replaced the cab roof with one bent up from thin brass, and added handrails, pipes, and actuating rods from wire. At this stage the body had been blackened in preparation for an etch primer - the blackening doesn't do much to the white-metal, but I think it helps the paint stick. The problem was at this stage it still didn't run smoothly.
Apart from the broken part, the challenges with the chassis were:
- The motor on my chassis lay horizontal, the body needed it to be vertical. It wasn't difficult to change but clearly not all Minitrix chassis are the same
- Once apart, the wheels and gears are a devil to get back together, with the pick-ups too
- The driving wheels are not all the same size!
- Then the crank pins will be out of sync, so the rods will bind. I think I took 4 or 5 attempts to get the chassis back together and the rods to go round
- Much adjustment and fettling was needed to make sure the bits of valve gear don't foul
- The cylinders are a long way forward, probably a mm or so too far, so the valve linkage binds from being over-stretched. Again much fine adjustment, and bending the piston supports back ever so slightly
Finally I've got it complete, and running smoothly without jolts and binds. OK, the Minitrix mechanism is very noisy, but that is normal! But I cannot recommend the kit to the inexperienced.
This view shows the wheels nicely, the trick of carving back alternate spokes and using filler for the balance weights is really convincing - removing one of the big problems with N-gauge chassis of too many too fine spokes. The pony "disk" wheels should probably have more of a profile but it's better than spokes.
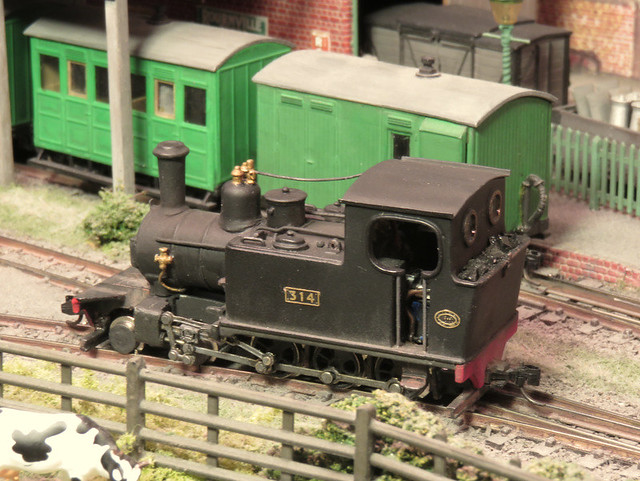
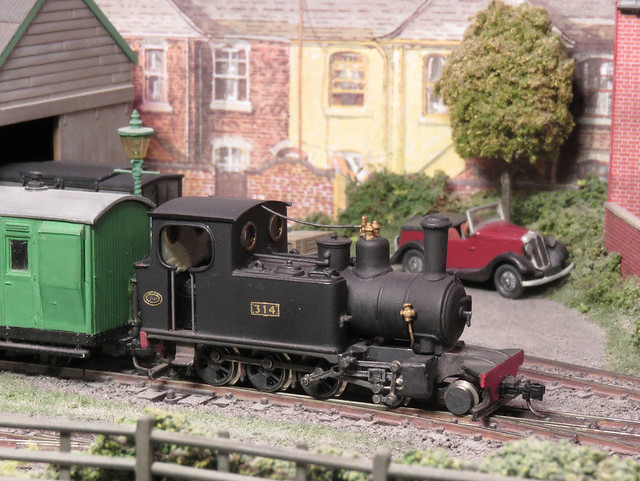
After priming, filling, rubbing down, and more priming, a can of Halfords black enamel did the body, with the smoke-box and roof brushed with a slightly more matt black with a hint of grey. Buffer-beams are two coats of red over a coat of white to make them bright, plus brass on the brass bits and gunmetal on the grab handles. A dirty wash was applied to the chassis, footplate, bottom of the boiler, tank tops, with some dry-brushed soot on top and rust in a few discreet places. After a spray of Testor's Dullcote a dusting with weathering powders for soot, ash, and track dirt in the appropriate places finished the job, just leaving glazing (Micro Krystal-Klear), plates and coal to be fixed
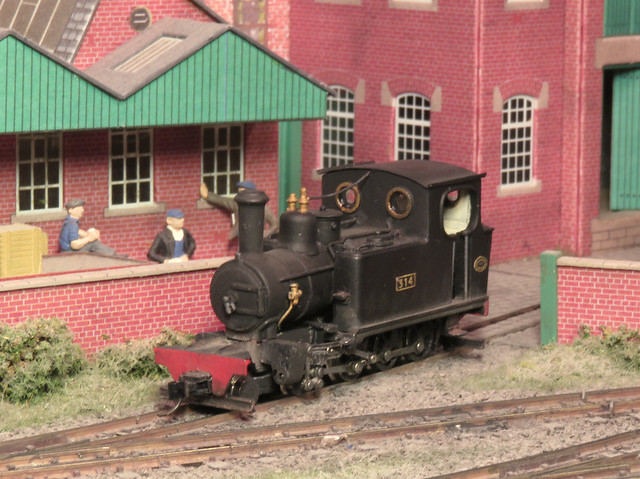
The result is a fine looking, hard worked but reasonably well kept loco, and should look at home shunting goods at Awngate or hauling passengers to Hexworthy. It's been a challenge but I'm glad I persevered, and thanks to all those who helped along the way.
2 comments:
Nice looking model. Well done.
At last. Cracking piece of work and worth the grief to build it.
Post a Comment