I then took the panel into work and used a pillar drill for the switch holes, and not forgetting the screw holes in each corner. These took a bit of cleaning up with various files.
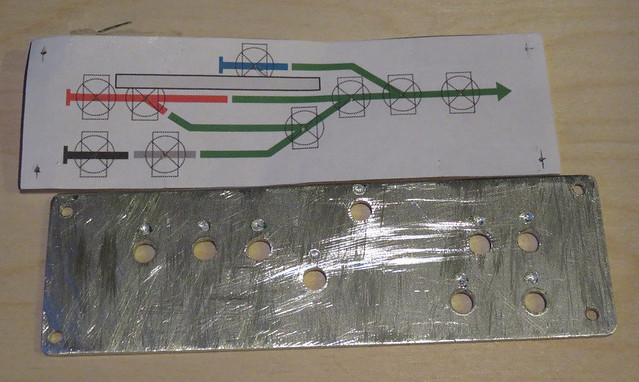
On the back of the panel I also drilled a small hole part-way through above each hole, this is to locate the tab on the keyed washer that stops the switch from rotating. The second print-out (without the switches drawn on) is cut to fit, including switch holes, as is a piece of clear plastic. I used a piece of packaging, but anything clear, stiff, and about 10 thou thick will do. The switches are mounted through the three layers.
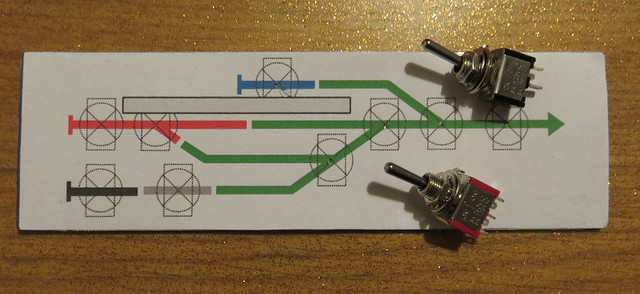
With the panel screwed in place the result is a neat, easy to follow panel for surprisingly little effort. Recessing the panel means the edge of the plastic and paper layers aren't seen or vulnerable. I've added coloured rubber grips to the section switches to match the diagram, while point motor switches are left silver.

No comments:
Post a Comment