
The warehouses are close to the tracks so it is important to see how they fit before proceeding too far. I've started with Brown & Sons, which will hide the exit to the traverser. The laser-cut MDF parts fit together accurately, and are assembled with PVA.

The problem is the kit has a solid back and floor, but I need the building to cover the traverser when it is furthest forward. It wasn't hard to cut away the floor and part of the back wall with a piercing saw, so that there is space in the ground floor to clear the trains.

The building shell is placed on the layout to check clearances and how it looks. Although a low-relief building I have used the waste part cut from the back to make the upper part of the left-hand wall appear to be full depth.

Another view showing how the exit track might be disguised. I decided to raise the warehouse slightly to improve clearance for the trains, and as there will be a track in front of it and I wanted the floor close to rail height. A layer of mounting board was fixed under the walls, and a strip under the door lintel to lower the door height the same amount. Another layer of mounting board provides a floor to the doorway. It may get another layer of card below the scenery if required.

The shell is then covered with brickpaper over an even layer of PVA. This was printed from one of those from Wordsworth Model Railway, though I noticed when applying it the bond isn't correct for an older building. Shhh. There are some odd lines through this print too, but I don't think they will be noticeable. The window openings are cut out and folded back around the openings, but the arched tops will be stone.

The detailing parts from the kit are laid out ready for painting - stuck to a piece of card with double sided tape so I don't loose them! There are stone trim strips but only for the front of the building, I cut pieces for the end walls using part of the roof - I'll be making a new roof - and scored them to represent stone blocks. I took the opportunity to part open one of the doors too.

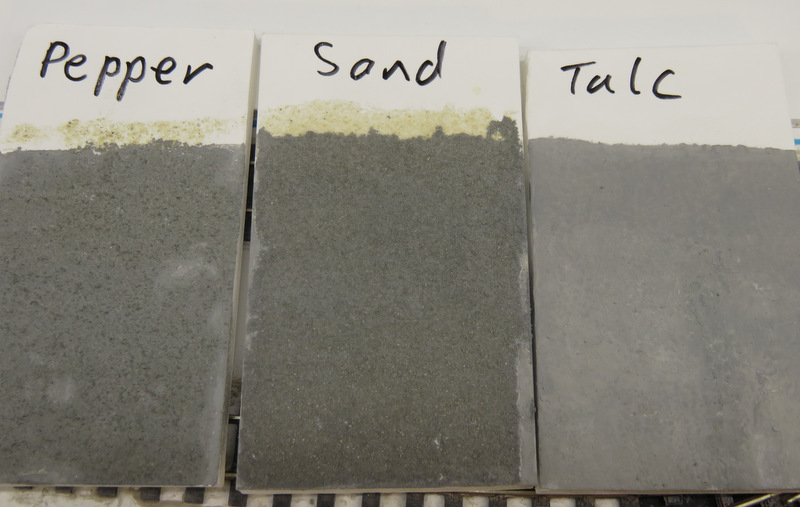
So that one is ready for the paint shop, and needs a roof making. I'd like some of the buildings to have a rendered finish, so have been experimenting with techniques to represent it using pieces of foam-board. As you can see I've tried pepper, sand, and talcum powder sprinkled onto PVA glue.

To compare them better they've been given a coat of grey paint (though a grey-brown would bee better). Each has a slightly different texture, I'd be interested any any thoughts...
No comments:
Post a Comment