Showing posts with label gravel. Show all posts

Tuesday, 2 September 2025

Rail200 - ballast, gravel, and water

Time for an update of progress over the last week, which has been focused on the ground cover around the tracks. I wanted a mixture of ballasted track and areas buried in gravel/ash, so for the latter areas I started with a layer of DAS clay. 


A simple jig allows the clay to be rolled out to a consistent depth. 


This was laid between the tracks on a coat of PVA, trimmed around buildings, and smaller pieces or offcuts used to fill the gaps between the sleepers, so bringing the ground up to sleeper height (or slightly below).


Ballasting was surprisingly tedious. I didn't want dilute glue finding its way down between the wooden base of the "modular" track and the surrounding foamboard as I'll need to remove that later. So, I applied neat PVA alongside that track and sprinkled the ballast on. 


Neat PVA was also applied around the moving parts of points and ballast applied, acting as a dam to keep the dilute PVA from getting where it shouldn't. After that ballasting took my usual route - applied dry, misted with water with about 20% IPA added from a spray bottle, then diluted PVA dripped on using a pipette. Then ages spent picking ballast from where it shouldn't be...

The ballast is a bag of granite chippings I've had for years and there must be the best part of a kilo left, so it will do a good few more small layouts. This time, the ballast had a slight greenish tinge when the glue dried, I've heard of others having this problem but I've never seen it - perhaps because this was cheap PVA rather than Resin W?


For the gravel/ash surface I applied fine sand (rescued some years ago when the kids grew out of the sandpit) over a layer of dilute PVA. The sand is applied through a tea strainer which helps give an even covering. The cocktail sticks (halved) hopefully protect the holes for the canopy supports.


I'm looking for a better solution as the sand needs painting! I applied a couple of coats of a dirty grey, changing the shade slightly for variation. 


When dry I applied a wash of dirty brown in a slightly patchy fashion, followed by an even more patchy application of smoke grey weathering powder over the still damp surface. 


The result is intentionally uneven and varied, although perhaps a little darker than I was aiming for as ash surfaces look surprisingly light from a distance. The shape of the sleepers just showing through the surface works quite well, the area providing easy access by foot although with the rails proud. I'd like the change from fine gravel/ash to ballast to be more blended, but I can't figure out how to do it. 

The ballast also had the dirty brown wash, which has removed most of the greenish tinge as well as toning it down. While the paints were out I painted the pond surface a muddy green colour, and blended it to a muddy brown colour near the edge, using acrylic paints applied very wet. This had previously had several coats of dark brown with a rub back in between to smooth the ply. Once dry, the water was added using Deluxe Materials Aqua Magic, a thin layer first, then a thicker (~2mm) later which was left to dry for a couple of days. I'd dammed the front with masking tape, the Aqua Magic is thick enough not to leak through it, but thin enough to self-level, and I did have to use a scalpel to remove the masking tape! The result is pretty much what I was aiming for - a still pond. 

Monday, 8 October 2018

Green Fingers

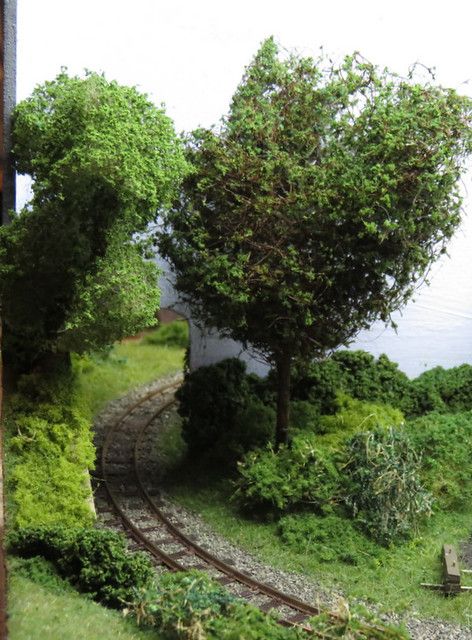
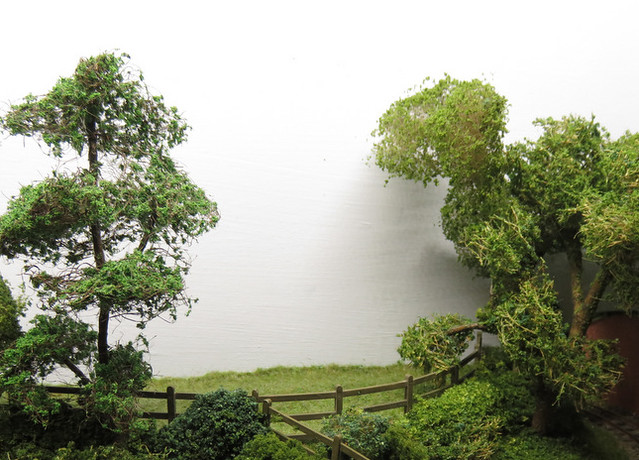
Continuing the scenic work on Slugworth we moved onto bushes and trees. Bushes and undergrowth is represented with a variety of scenic materials, including rubberised horsehair, various teased-out fibrous materials, and even some lichen. These were covered in scatter and ground foam in various shades of green, the idea being to give an impression of different types of plant rather than any attempt to model specific types. It's a messy and surprisingly time-consuming task, but adds a lot of texture to the landscape.

IMG_5726

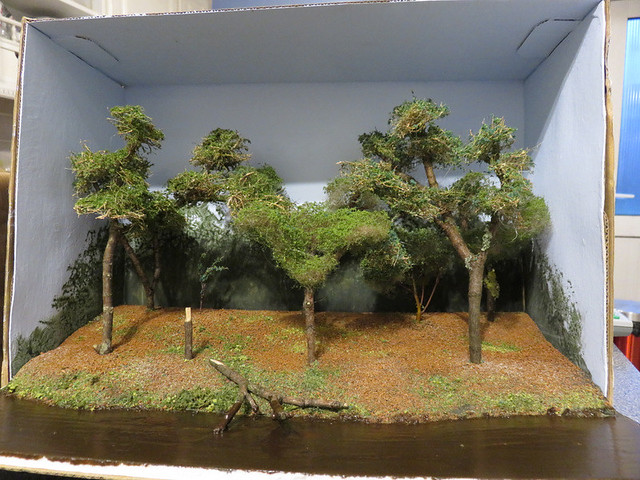
The trees are all Joshua's work. I've mentioned the scenic demo exhibition stand by Roy Hickman before, who gets kids involved making scenic items. Joshua has made a couple of trees under his instruction, which use real twigs, rubberised horsehair or teased-out fibres stuck on with hot glue, and scatter material fixed with cheap hairspray. Then he had a homework project to model the rain forest (no, I've no idea why) - so he used the same technique to make a number of trees.

IMG_2171

We'd kept the model thinking the trees would come in useful, so now we have uprooted them and replanted those that fitted best onto Slugworth, along with those he'd made on Roy's demo stand. Some got a refresh of scatter along the way. Such a simple method, however I think they are really impressive, and better than any trees I've ever made from twisted wire...

IMG_5733

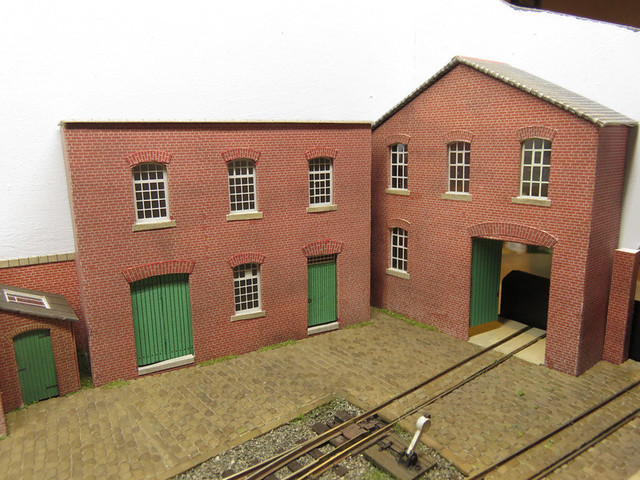
Meanwhile, the buildings are getting bedded in to the factory yard. Although they fit into the cobbled yard which minimises any visible gap, we did find the long thin "tufts" of static grass we made on the foil worked well along the edges of the buildings.

IMG_5737

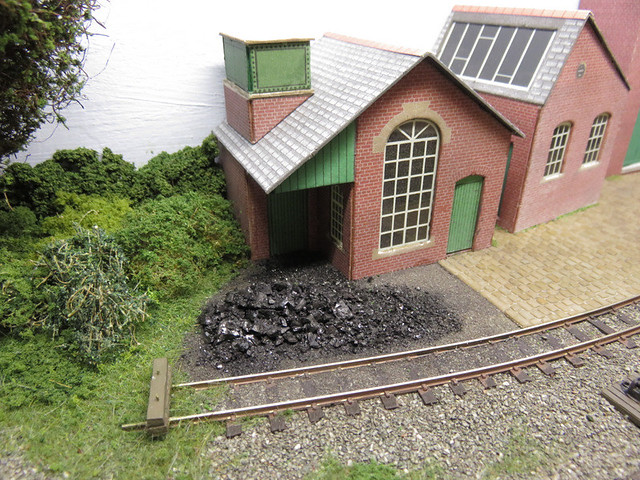
At the end of the yard we wanted a gravel/cinder ground finish, which we simply achieved sprinkling sand onto PVA glue. This was then painted dark grey with acrylics. Joshua then crushed a lump of real coal with a hammer, which was used to make a pile of coal outside the boiler house.

IMG_5740

Things are really coming together now. Just some final details to add, although they can take a lot of time...

Thursday, 30 October 2008

A Model Railway Corner

First a picture of the layout in it's surroundings. This layout has been built to live in the dining room and fit as part of the furniture, which I think it does well, though the Ply could do with staining to match. However the recent change has been that I have acquired the shelves above for my railway books (well, mostly). With the bureau cupboard storing my modelling bench, toolbox, and some materials, it is virtually a model-railway corner!

The reason behind the reorganisation is that we are expecting a second child in April - and that of course means the spare bedroom will be required! There will be more sorting out, decorating and DIY to come I'm sure! It also means that the deadline for the Sussex Downs members day (7th March) is more important, as after that I'm likely to have less modelling time for a while ...

The second picture shows the advantage of having the layout so accessable, that working on it is so easy, even just an hour or two at a time. Here the layout is slid forward and the lighting beam removed, to make it easy to work on. I've recently formed the gravel and cinders yard areas made from layers of sand and painted them with acrylics, then formed the the contours of the small parts of land not rail, buildings or yard, with polyfilla/powder paint and newspapers over the polystyrene. As shown in the photo the first layer of grass scatter has been applied too, so the scenery is really progressing.

Posted by Picasa