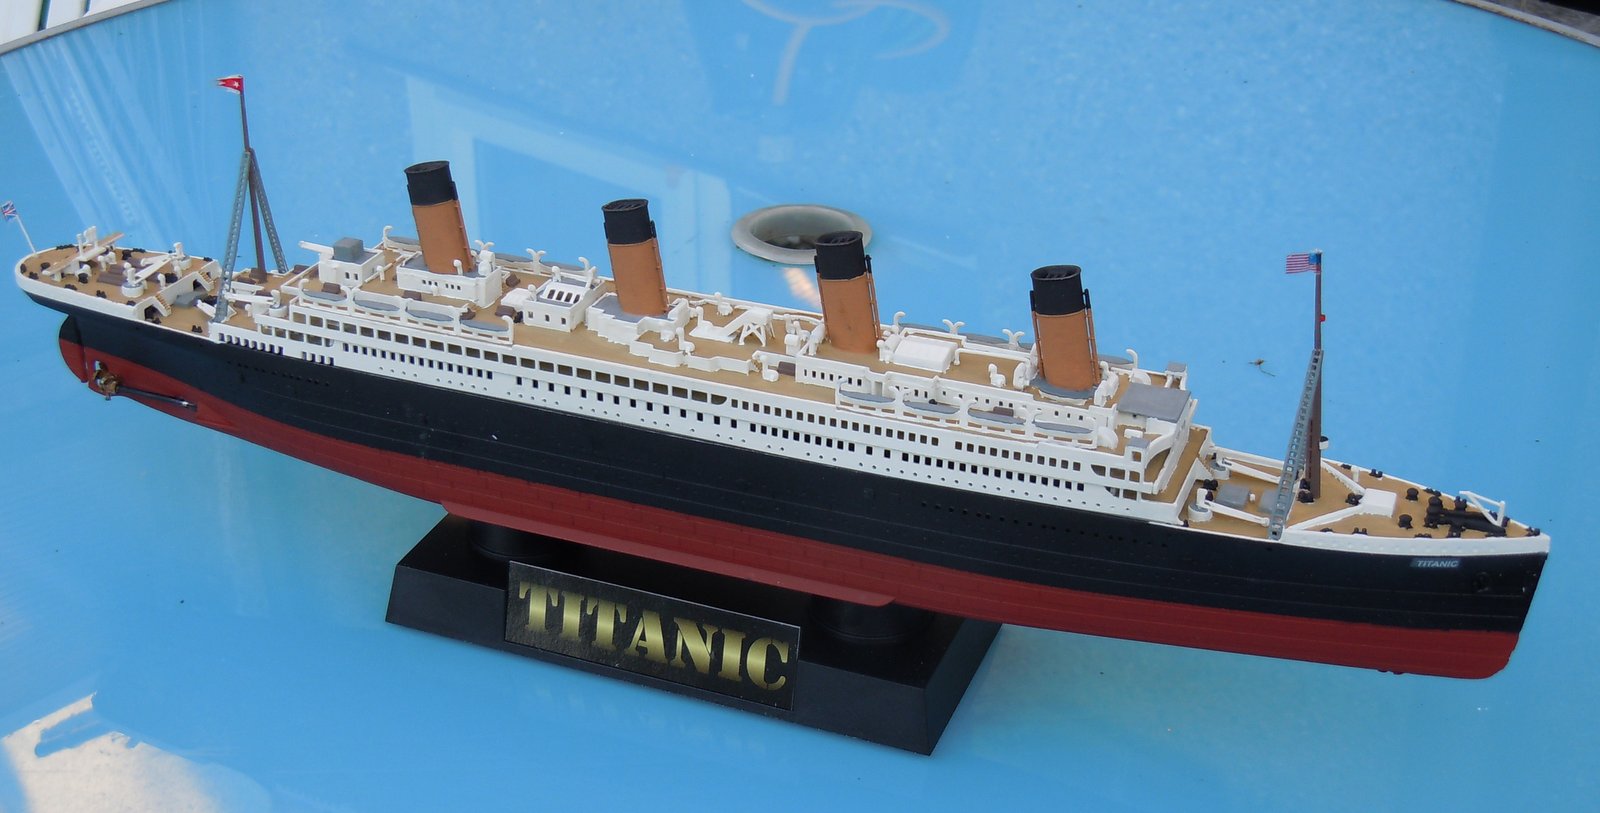
Well as you can see, the Titanic is finally finished, and ready for delivery to it's owner. The painting took a while, being quite intricate, but the time taken feels worthwhile as it really brings the model to life. This is one of those kits where painting some of the parts before assembly may have been easier, but I find the plastic solvent does not work so well through paint so I prefer to assemble first.
There are some compromises. The plastic masts are so fragile that both broke during construction. Despite trying to repair them they just looked wonky and snapped if touched. So I have left them about 1/2" short, more robust and not really noticeable. The railings around the bow and stern disintegrated when removing from the sprue, and despite being over-scale were clearly too fragile to fit. I haven't even attempted rigging as that too would be over-scale and would look worse than not doing it - unless you have a lot more skill than I do!

There are some compromises. The plastic masts are so fragile that both broke during construction. Despite trying to repair them they just looked wonky and snapped if touched. So I have left them about 1/2" short, more robust and not really noticeable. The railings around the bow and stern disintegrated when removing from the sprue, and despite being over-scale were clearly too fragile to fit. I haven't even attempted rigging as that too would be over-scale and would look worse than not doing it - unless you have a lot more skill than I do!

I mentioned the internals in a previous post, the main superstructure lifts off for access. As you can see there is a battery compartment, and a motor driving the two outer propellers through a gearbox and the two flexible rubber shafts just visible. The prop-shafts run through compartments packed with Vaseline to make a watertight seal. There are also two small bulbs to light the ship, a nice touch although the effect isn't that great! The small slide-switch right at the rear (right of photo) turns it all on, and is accessed via a gap between the cargo hatches just behind the stern mast. I've added a little roofing lead ballast towards the bow - much less and further forward than the instructions suggested, but according to what seemed necessary in my kitchen-sink test!


To keep the model safe I strengthened the box it came in with some corrugated card, then cut some expanded polystyrene foam to create a snug hole to slot the ship into. There is even space for the included stand.


The lettering and flags came from the transfers included in the kit, I've not used transfers for a long time so had to remember how they worked! The carrier film is rather visible (more obvious in the photos), the flags were really fiddly (yes they are transfers too!), and the lettering has not stuck down that well. Since the photos I've given the model a quick coat of varnish to hopefully seal them.
The rear view shows the propellers, the centre one is fixed but the outer two are the powered ones. They fouled the side of the ship and needed significant trimming, which has probably reduced their efficiency somewhat! Still I don't think performance is the point of this model. The rudder can be repositioned too.

The rear view shows the propellers, the centre one is fixed but the outer two are the powered ones. They fouled the side of the ship and needed significant trimming, which has probably reduced their efficiency somewhat! Still I don't think performance is the point of this model. The rudder can be repositioned too.

Despite the compromises and flaws I am rather pleased with the result. At 380mm (about 15 inches) long by 45mm (under 2 inches) wide it is a small and fiddly model to make, and yet while a plastic kit is reasonably straightforward to build in places it is clear that plastic is not really robust enough for this. It's been an interesting diversion from my usual model railways, but not really my thing - so I don't expect any more model ships on my workbench. Unless they are intended for a model railway layout perhaps...!


