Showing posts with label Diesel. loco. Show all posts

Saturday, 7 September 2024

A Baguley and a pair of Bug Boxes

A few additions to the stock list today. A couple of Ffestiniog bug-boxes and a yellow Baguley Drewry. 


The bug boxes will of course go well with the England and Double Fairlie locos. The Baguley will probably end up on works trains, I don't really need another modern diesel but it is nicely detailed, looks great on the layout, the yellow pops out, and of course it runs sweetly. 


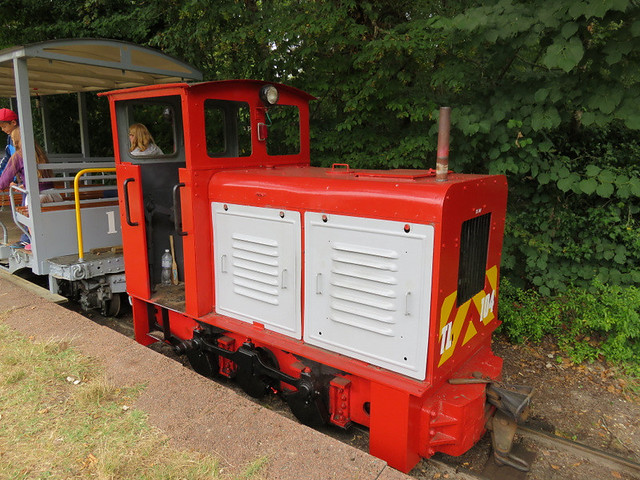
However, I was also drawn to it because of the one at Amberley, in which I had a cab ride a year or so back. 


My model will no doubt get some weathering to make it look like a well-worked loco, but I don't think I'll go as far as the "weathering" on the Amberley loco!


Thursday, 18 October 2018

Three little engines

A quick update on some dirty locos...

IMG_5806

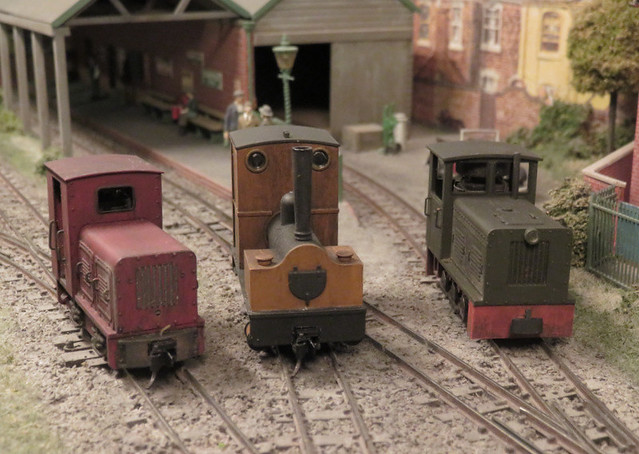
The NS2 has been sitting around for nearly a year since the last update when it was ready for painting. As you can see I did decide on red, using Humbrol enamels mixed to a shade I liked and applied with my airbrush. Then both this and the green NS2F - an unmodified Minitrains loco - got a dose of my usual weathering, consisting of a dirty well thinned enamel wash, followed by weathering powders. Both still need glazing and a crew, or perhaps tarpaulin sides for the NS2.

IMG_5807

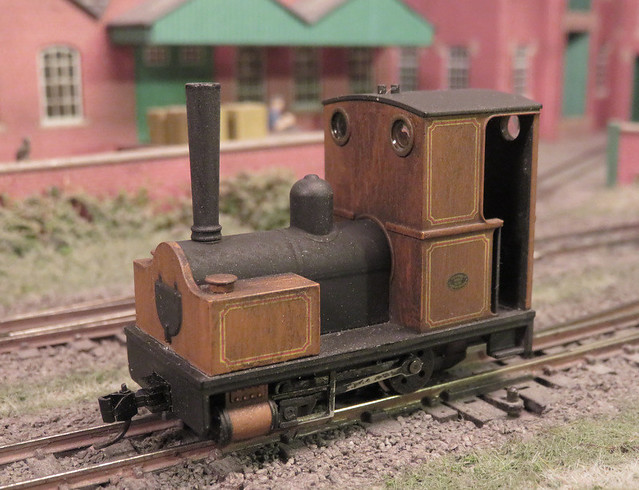
I'd also had the Minitrains Bagnall in a box for some time. This required a change of couplings, and something doing to tone down it's shiny, plasticky finish. However I liked the colour as being a bit different, and the lining is nicely done, so I settled on a simple weathering exercise. I've probably over-done it a little, but it suits an industrial setting and it certainly looks a lot less toy-like now. There's plenty of potential for detailing this loco, and I may add some pipework or toolboxes - as much as anything to try to disguise the slab sides under the boiler - but for now I think it just needs a crew.

IMG_5809

So three more locos ready to enter service, all run sweetly thanks to the Minitrains chassis, but they are unlikely to fit Awngate (except perhaps the Bagnall). However, they will fit in well on Slugworth, so I think my Son will be borrowing them...

Monday, 20 November 2017

Progress with the NS2

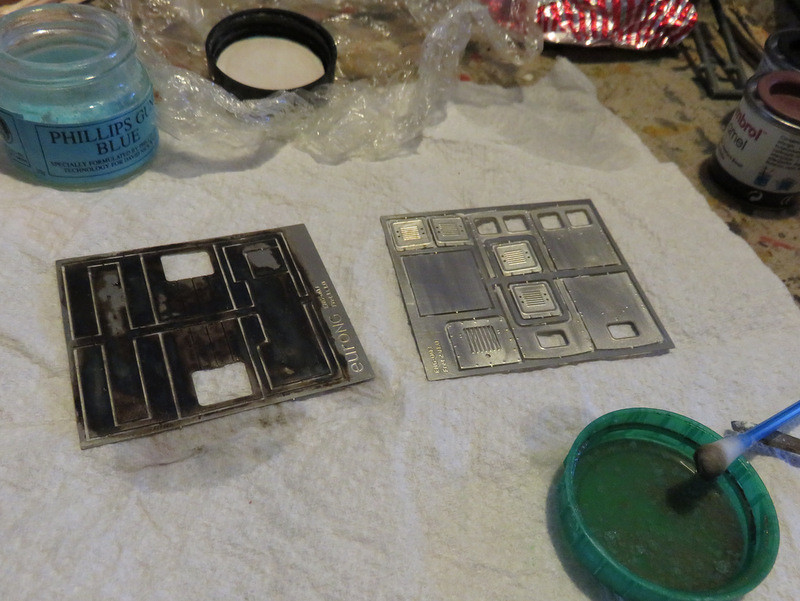
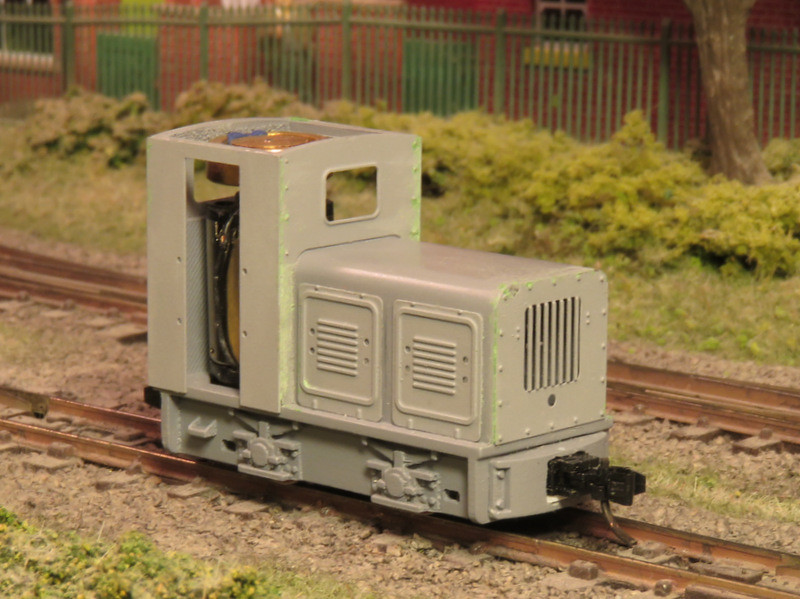
I've been making irregular but steady progress with the Narrow Planet NS2 kit I got last Christmas. It's not a difficult kit at all, but I've been tackling it alongside (i.e. in gaps in) other projects. My first step was to blacken the etches, which helps paint to adhere later. I'm using some gun blue applied with a cotton bud.
IMG_2112

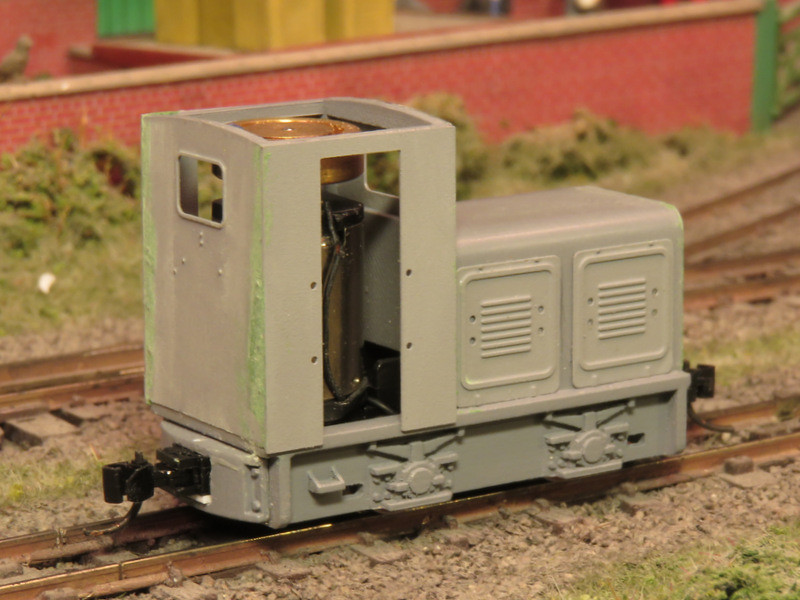
The etches were sprayed with an etch primer, while the 3D print was given a normal primer (both Halfords). The print was given a little attention with emery paper and home-made sanding sticks (emery paper glued around a coffee stirrer) between each of two or three coats of primer to ensure a good quality finish on the areas that would be visible (bonnet top and sides, and under-frame). Even though it's a top quality print a few minutes work between coats of paint is a worthwhile investment.

IMG_3318

The etches were then assembled - here you can see their lighter shade shows the etch primer, compared to the slightly darker shade of the standard primer. They fit well but once again, to get a good finish I filled any gaps (you can see the green filler) and spent a little more time with the emery paper.

IMG_4206

As usual the Microtrains couplers took some thought to mount, though the solution proved relatively easy. I drilled four holes in the coupler block at the corners of the slots, put a fine coping saw blade through a hole and cut out the square opening. A similar square opening was needed in the buffer beam behind, making space for the coupling draft box. After painting a wire pin will be passed through the buffer block and coupling to secure it in place.

IMG_4205

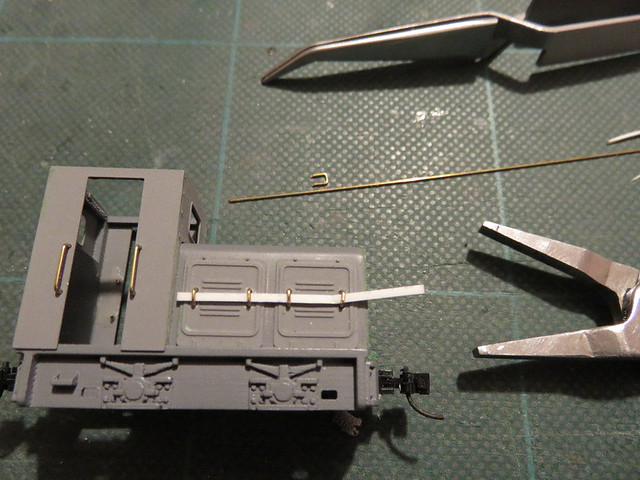
Handrails came next, and those bonnet panels needed a lot of handles! As the etches are laid over the print they needed drilling out too, with a fine bit in a pin vice. The 0.5mm wire was bent around the flat nose pliers, you may be able to see the mark I made where the width was correct to form the handle to a "U" shape. The strip of 20 thou plastic was used to space them equally from the sides while superglue was applied from inside.

IMG_4217

So it just needs the cab roof adding, then I expect another coat of primer before the top coat. I've not yet decided on a colour, though I'm quite tempted by red for a change, as on this NS2f, though the wasp-stripes may be a challenge!

IMG_1341

Friday, 1 September 2017

A Duo of Diesels

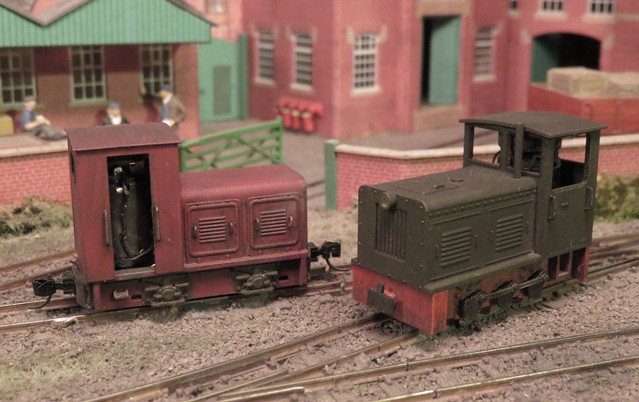
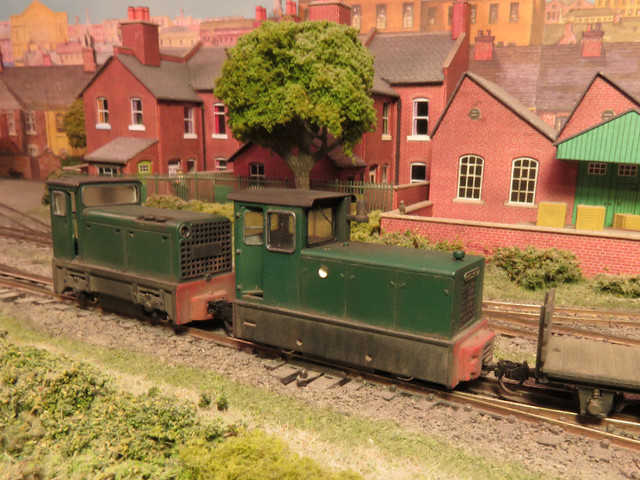
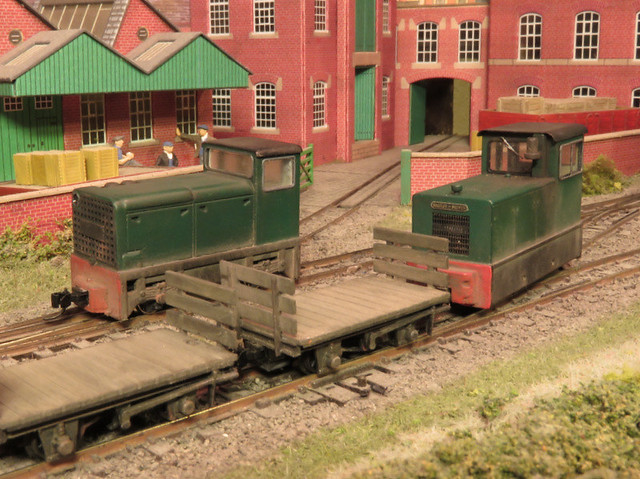
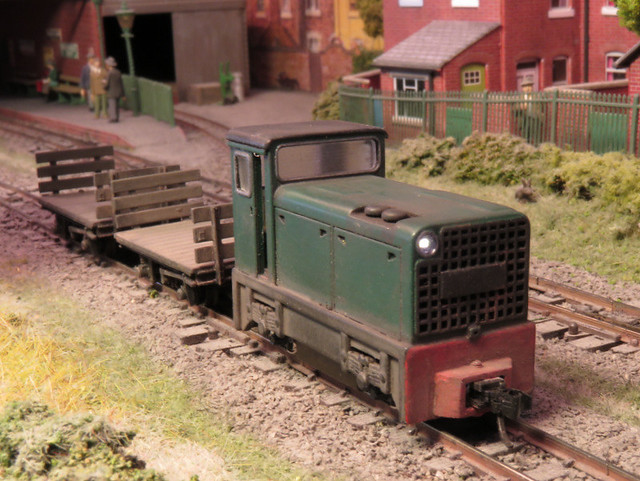
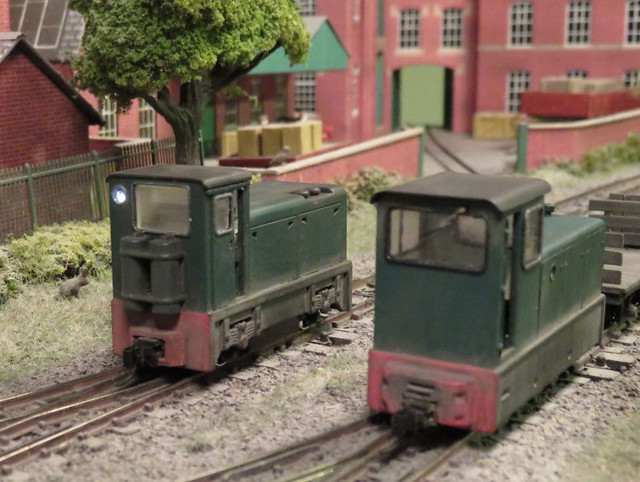
I've finally (after about 8 months) finished the pair of 3D printed, Kato chassis powered, ex military diesels: the CWR produced Hunslet left) and the Narrow-Planet Baguley Drewry (right). Both are relatively straightforward but tasks like fitting couplings, painting, glazing, and weathering have been completed in occasional modelling sessions.
IMG_3759

Fitting the couplings to the Baguley was easy enough, with a slot cut into the buffer block for the Microtrains draft block and plenty left for the screw. There's plenty of space inside for some lead which helps tame the sprightly Kato chassis. Glazing was a little fiddly but templates in the instructions helped with cutting out, the brass etched frames were painted separately and fitted afterwards to hide any join - however I couldn't help getting spots of superglue on the paint, which had to be hidden by a little "dirt".
IMG_3756

The Hunslet had no space for the couplings even after I cut a square hole in the buffer beam due to the chassis fitting flush inside, so I made up a mounting block using plasticard stuck to the face of the bufferbeam. Such blocks were common on NG locos and it holds and disguises the coupler draft box, providing something solid for the screw too. 3D printed glazing was provided, it's a little milky with some faint layering visible (and sanding it would make it worse!) but I used it anyway - it's convenient and looks OK. Here you can see I've also finished painting and weathering a couple of RNAD wagons too.
IMG_3769

The Hunslet's party trick is the working headlights. The headlight openings were glazed with a drop of Micro Krystal Klear, and the micro SMLED's stuck behind them. The PCB was pushed into the bonnet so the contacts touch the Kato chassis when fitted. The lights work really well, the circuit suggested by my friend Harry does the job of keeping the LED's lit at a constant brightness and reasonably flicker-free, and I think I've got the brightness about right. The circuit meant less space for lead, but I still squeezed a little in around it and it runs fine.
IMG_3765

Both locos have been weathered using a little dry-brushing, a dirty wash, and some powders (which may get toned down a little), the idea is to capture locos working in preservation service on maintenance trains - generally clean bodies but with some track and exhaust dirt. They could both do with a driver (and the Baguley could use a representation of an interior) but otherwise they are ready for service. Despite my reservations about 3D printing, I am very pleased with the end results.