Showing posts with label club layout. Show all posts

Monday, 24 February 2025

A small warehouse

Not much activity on my own modelling projects recently, but I have completed a building for our club 009 layout. It's a small warehouse, store, or industry that will sit alongside a siding. A cardboard mock-up had been used to determine the size and shape that both looked right, and disguised another track exiting behind it. 


The basic shell is made from Wills brick sheets with chamfered corners, Wills windows, and plasticard used for an internal floor and loading platform. Sills, lintels, doors and a sliding door rail cover are made from thinner plastic, and a lifting beam projecting from a first floor door has been added from Plastruct and scrap plastic. 


Painting used artists acrylics. After an overall coat of brick orange/brown, random individual bricks were picked out in varying shades of red, orange, brown, and dark brown/black. A beige/sand mortar colour was mixed a little thinner and flooded onto the brickwork (see right), then wiped off using kitchen towel in a diagonal motion (see left), leaving the mortar colour in the courses while removing most from the face of the bricks. 


For variety and to emphasise the building's utilitarian nature, a corrugated iron roof was decided upon. This was also made from Wills sheets, with a foil ridge, plasticard barge boards and gutters (the outer lower corner of a 1mm strip is rounded off to look half-round). I've had this set of rust effect paints in a while and this seemed a good chance to use them. 


I primed the plastic with automotive red primer, then worked through the colours in the airbrush as per the instructions - with random patches and density. The process was quick, I just flushed some water through the airbrush and moved on to the next colour. 


I applied the chipping medium by brush, allowing me to create patches and streaks that align to the edges of the panels. I expect spraying would allow more random outbreak of rust. Once dry, the top coat of off-black (with a little grey) was airbrushed on.

The chipping was done with a wet brush, and the end of a wooden coffee stirrer which proved very effective. As the end blunted, it shaped to the corrugations. 


The result seems quite effective, although perhaps the rust could have more texture. Thanks to the mock-ups the building has pleasing, squat, proportions, and the mix of brick and corrugated iron along with details such as the sliding doors and lifting beam give an industrial feel. 


It may be a little while until it is permanently fixed to the under-construction layout...

Tuesday, 26 July 2022

Amberley 2022

Last weekend the Amberley museum held its annual rail gala exhibition, I was there on the Saturday. The format was much the same as usual, with two passenger trains running. The weekend marked the official return to service of Peter the Bagnall saddle tank after its major overhaul. 


It also marked the last weekend of service for Polar Bear, whose boiler ticket was about to expire and so would be shortly withdrawn for overhaul. Both steam locos were looking superb. 


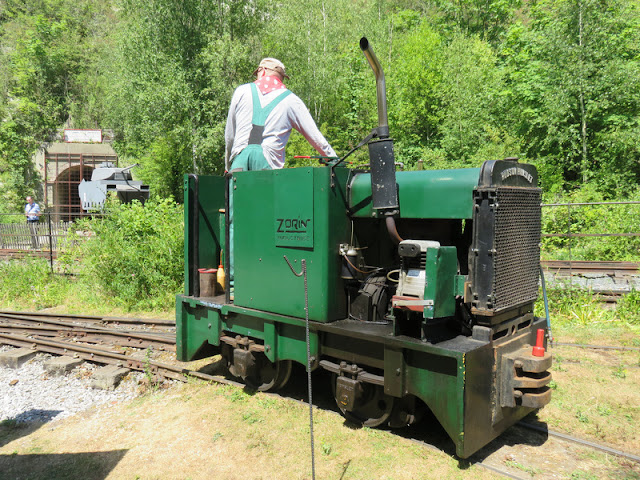
In between the passenger trains ran industrial diesels with trains of wagons. Here's one of the largest, Peldon. 


This Hudson Hunslet appeared in a James Bond film, as did the "mine" tunnel in the background. 


Here's a Motor Rail Simplex. At 3pm the usual parade of locos was held, with all the serviceable locos on display, although there were no visiting locos this year.


This "tank" is actually a wooden cut-out used as a target, it sits on a motorised target trolley which would run behind an embankment to provide a moving target. I visited a target railway of a similar type to the one this trolley would have run on last year. 


As well as the trains, steam road vehicles were in use. This steam roller was one of two, and I believe a traction engine was in steam too. 


The open top of this fabulous bus proved popular. The road vehicles, like the trains, appeared to be full every trip. 


Indoors was a model railway exhibition, although this year it was pretty small. Just a handful of layouts, mostly N-gauge for some reason, and a mix of traders who can't have been doing well judging by the low numbers inside (the sun was shining, the shed was hot, so why stay inside!). I was helping the Sussex Down 009 group who as usual had a display stand and demonstration, except this year we had taken an under-construction layout to work on. I spent much of the day sticking and carving foam, which as well as progressing the layout, seemed to be of interest to visitors to see how the layout was constructed.


Sunday, 1 July 2018

Another Control Panel

If you've noticed that updates on my modelling activities have been limited of late, there are a couple of distractions that could explain things, and not just holidays and the hot weather.

The Sussex Downs 009 group are building a new layout, and I seem to have got the job of wiring it up, possibly because no one else seemed to want to. After some time thinking and planning I have adopted my usual approach of coding the wires, and using lots of terminal blocks, hopefully making it easier to follow - and debug in future. However, it became apparent that progress during fortnightly meetings was rather slow, so I brought home the control panel for some homework.

IMG_5064

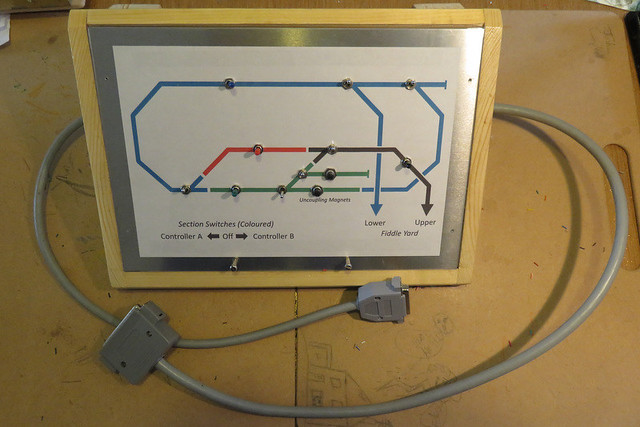
I can take no credit for the box itself as that is the work of Martin Collins, who has much better woodwork skills than I. The panel is my usual approach of a sheet of aluminium, with a computer printout schematic diagram, and a layer of clear plasticard on top. The coloured switches operate the track sections while the silver ones operate the points. The two grey cables run one to each of the two baseboards.

IMG_5067

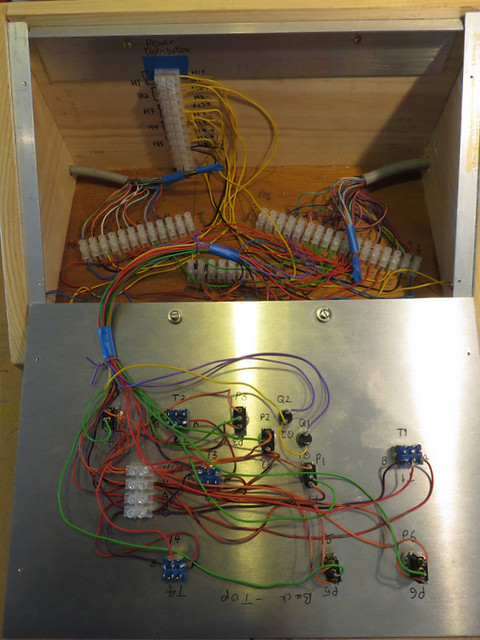
Inside (the panel is upside-down in front of it's box) may look messy, but the terminal blocks are labelled according to wire codes, and simply link the switches to the track, point motor, or appropriate power supply, so should not be too hard to follow. The incoming power connections have yet to be made, and the big cables need some kind of cable grip.

IMG_5065

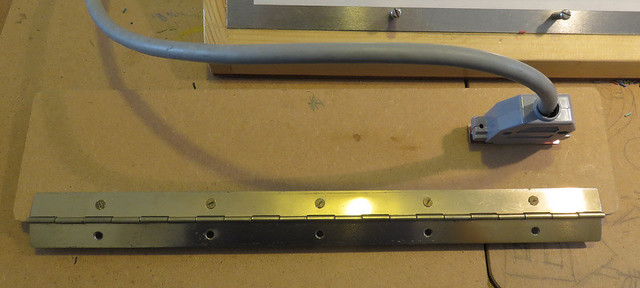
The multi-way connectors weren't much fun to wire up but I've not found a better alternative for this many pins, that isn't too bulky or costly. Each connects to a hinged panel on the back of the baseboard, one of which is seen here.

IMG_5066

The back of the panel has more terminal blocks - which connect from the socket to the various parts of the layout. The seemingly random letters and numbers are the codes for each wire, the wires are colour coded according to purpose too. This panel will hinge down for easy access if required.