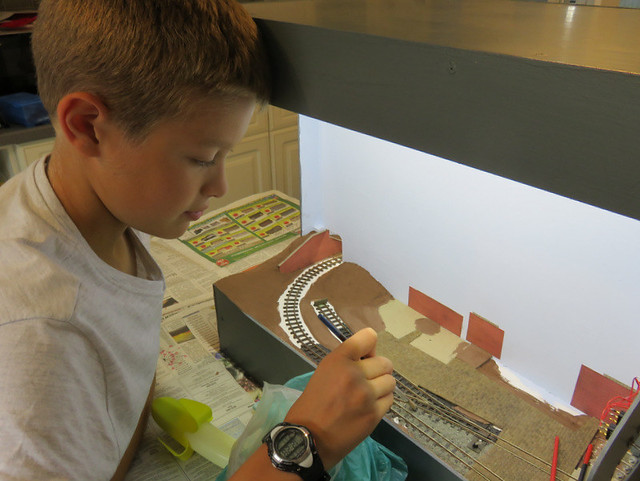
One tip we found useful was to tap the rail with a spoon, which shakes the ballast off the sleepers into the gaps. When in place the ballast was misted with a fine water spray, then dilute PVA dropped in.
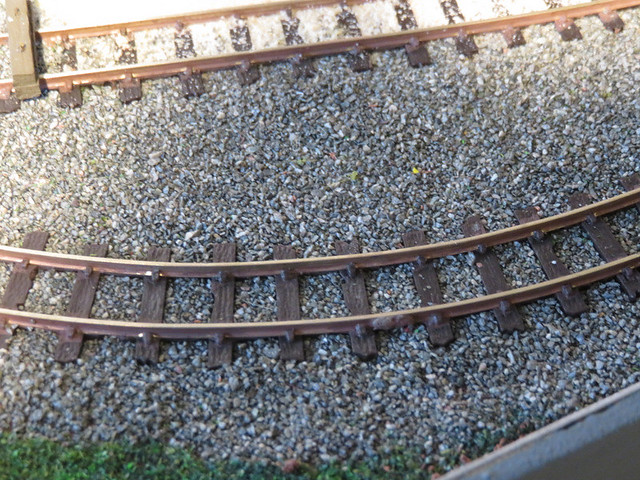
After it was all dry a wash of thin brown acrylic paint was liberally applied over ballast and sleepers to tone it down a little.
We then moved on to grass. First we applied a layer of conventional scatter as a base layer, then on top of that, static grass. My cheap "fly swatter" applicator is sufficient for a small layout like this. We mixed different colours and lengths of fibres to get a realistic look.
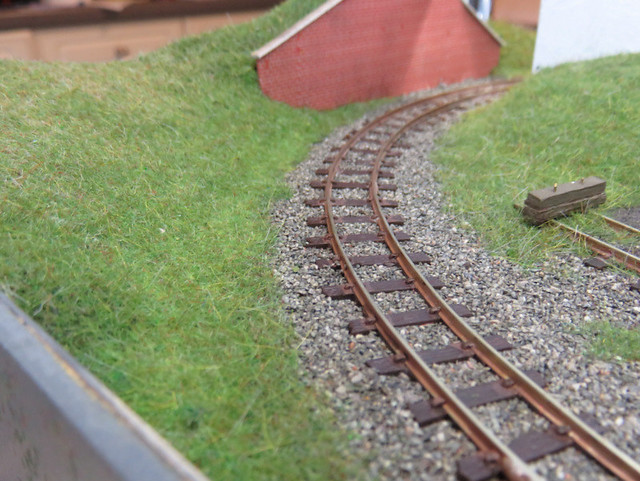
We tried to vary the grass mix according to the use of the land, with longer strands and more lush looking grass on embankments for example.
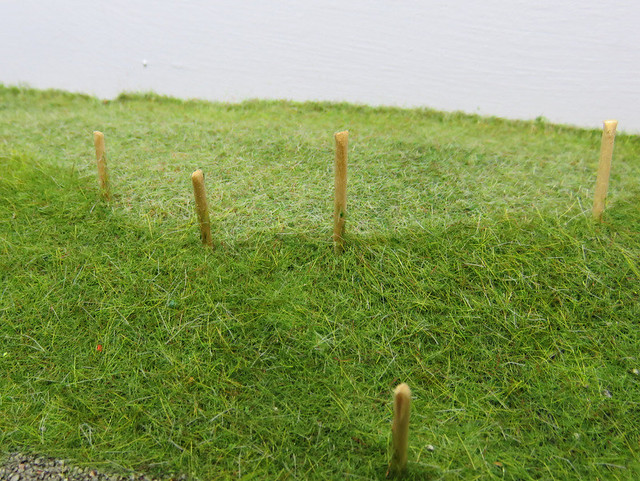
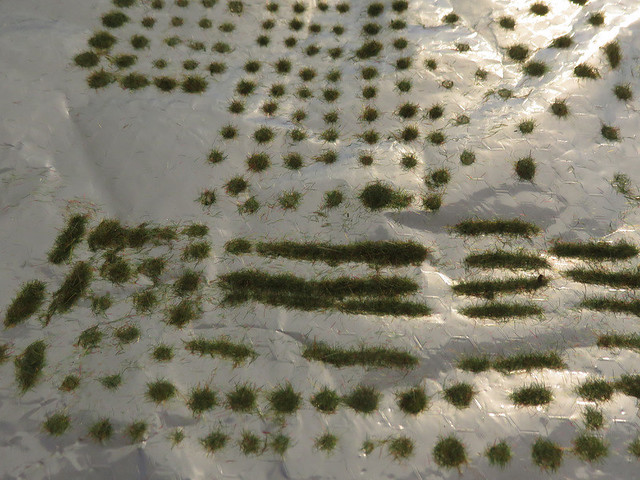
Finally, while the static grass was out, we had a go at making our own tufts on a sheet of tin foil. It kinda worked, but the PVA glue blobs were very difficult to remove from the foil, and often showed up under the tuft. Perhaps there's a better glue to use for this?
No comments:
Post a Comment