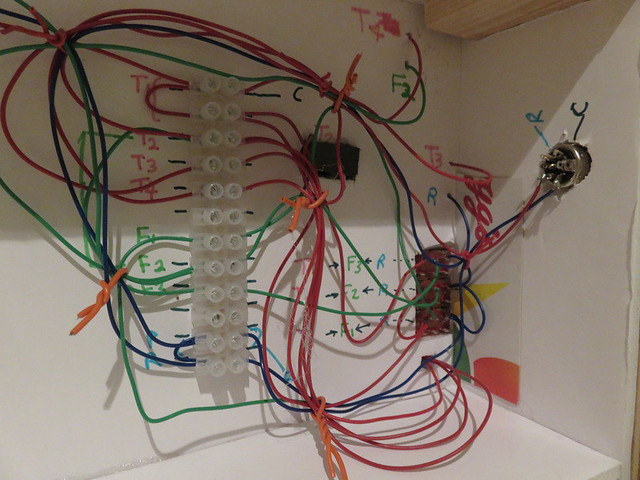
Following my usual approach, a "choc-block" connector was stuck under the layout with hot glue, and all the track feeds and returns run through it. Wires are numbered/coded and colours are used according to type - main feed, point "frog" switched feed, or return. The underside of the point switches can be seen on the right, and the back of the power input socket in the side of the layout.
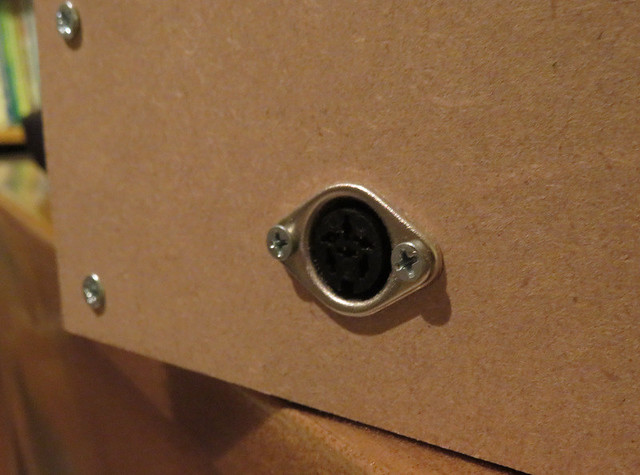
The DIN socket which takes the controller power in, screwed into the fascia panel.
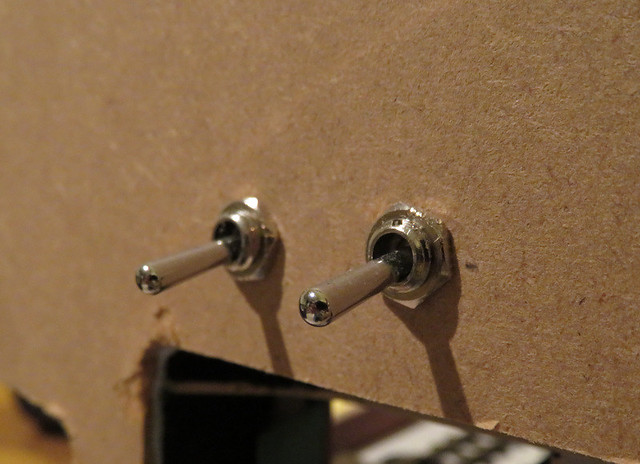
A couple of isolating switches are also mounted through the fascia. So it is relatively simple, honest!
My son got to learn the art of stripping wire (with one of those wire-stripping tools, which he liked) and also soldering wires to switches and rail. However he enjoyed it most of all when he got to finally run a train around his layout.
No comments:
Post a Comment