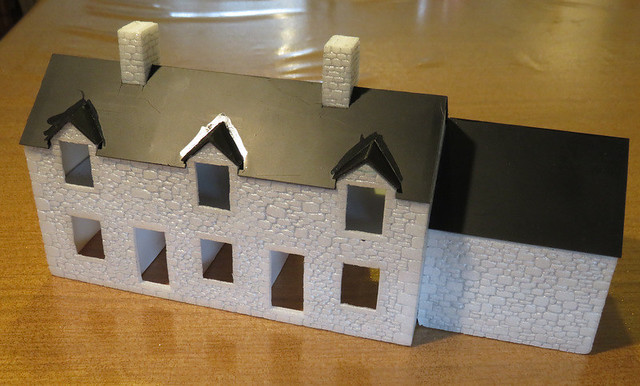
The next step - following the small practice pieces - was to start scribing the stonework. For this I simply used a 0.5mm propelling pencil, which gives a suitably fine mortar course. I used some photos of Dartmoor buildings to give an idea of size, shape, and irregularity. Even so I had to concentrate on making the stones look realistic, not like graph paper or the strange "squashed cushions" it is all too easy to end up with. I was given some good advice by Daniel Caso on the NGRM forum - "draw the stones, not the mortar lines" - and by ensuring I drew around every stone I found they looked much better.

Did I say this took ages? Short bursts in evenings worked best, but it was over 2 weeks until I finished all the walls.
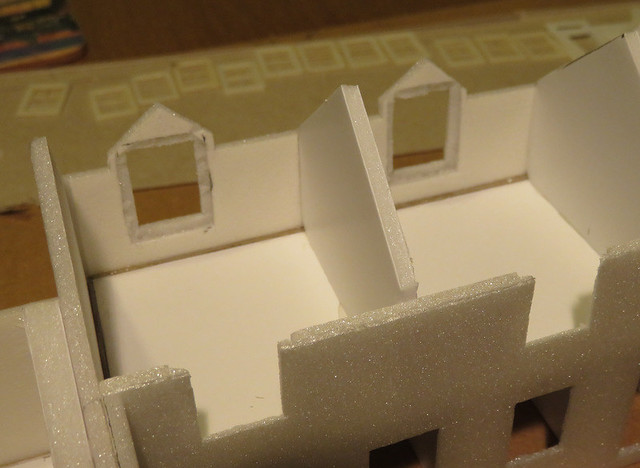
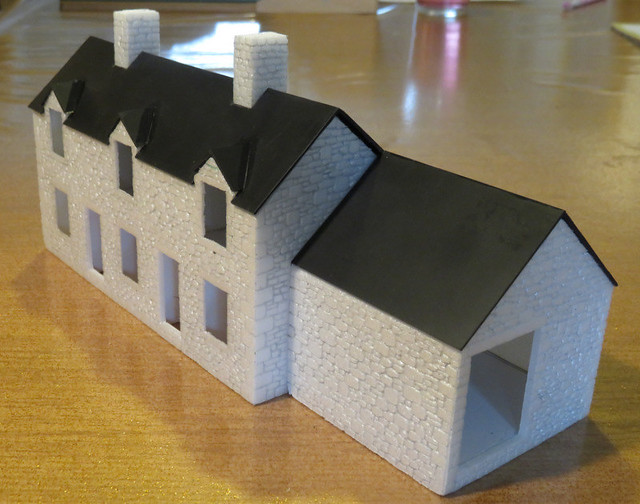
Next up was the roof - and it turned out to be a tricky shape! I used black plasticard, and made it in one piece with lots of bracing. It will be glued down eventually, but it will need to be removable for a while yet. The dormers were, er, challenging...
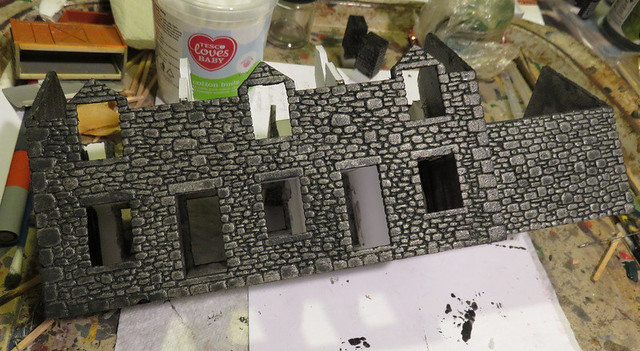
Finally, I've made a start on the painting. I've made a start with a coat of grey acrylic mixed with PVA glue, the aim being to seal the surface and strengthen it, and also ensure no white shows. The plan now is to dry-brush colours over the stones, and possibly lighten the mortar with a light wash, but to be honest I'm making it up as I go along, and hoping it works!
1 comment:
Looks perfect and I can hardly wait to see the final result. Keep on building. Can't wait. Greetings from Germany. Frank
Post a Comment