Before my operation I figured I might be able to do some modelling while recovering, so to make that as easy as possible I sorted out various projects into some fruit trays, including easy tasks like plastic wagon kits, making and fitting couplings, through more complex repairs, adaptions, and detailing jobs. It means I have a choice of activities depending on what I feel up to, and without having to go looking.
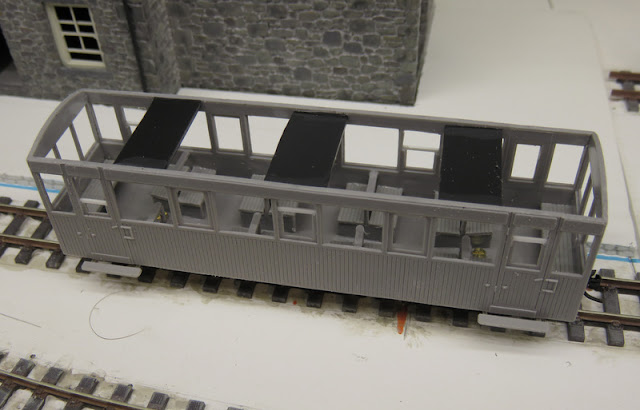
A relatively easy pick this week is this Welsh Highland coach from Dundas, which I figured would make a good preserved-era observation coach to run on Hexworthy. The kit is good quality and went together well, with just a little flash on the bogie mouldings that was easily cleaned. The instructions could have been clearer on how the seats went together, but I figured it out in the end. I decided not to fit glazing first as the instructions suggest - as that would make painting a real pain - but I can see cutting the glazing to fit each window will be the most fiddly part of the build.
As you can see I did "open" some of the drop-frame windows by cutting away the upper part of the frame and gluing in a piece of microstrip at the part-open level. This isn't hard to do and gives the coach life. The day after assembling the body I found the sides bowing in already, so added some strengthening from 40-thou plastic, though I can see they won't help the fitting of glazing!
Underneath the bogie securing nuts work loose quickly and will need fixing with glue. I'd prefer to see a captive nut in the floor myself. I trimmed the step support slightly to ensure plenty of bogie swing, and fixed Microtrains couplings to the floor with a piece of packing. As the couplings pivot and are sprung they work well body-mounted.
Another kit from the pile assembled, and awaiting the paint shop!


1 comment:
Use Deluxe Materials "Looks like glass" to fit the glazing. It's brilliant! Better than canopy glue even.
Post a Comment