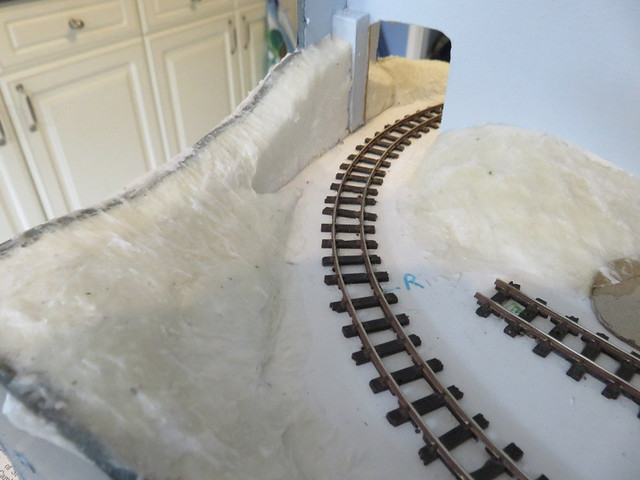
The basic landscape was formed from expanded polystyrene, carved with a craft knife or a broken hacksaw blade. There's nothing dramatic, just some gentle banks, cut to match the profile we'd already cut the fascias to. This was covered with kitchen towel pieces stuck down with dilute PVA glue - a new method for me as I've used newspaper and plaster filler before. This has dried to a very tough "skin" so seems to have worked well.

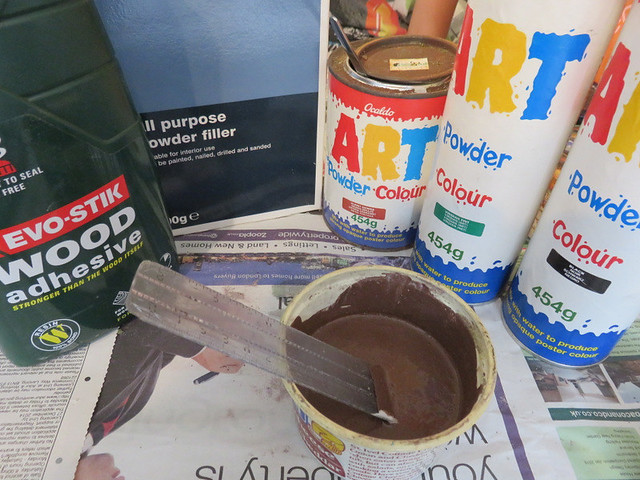
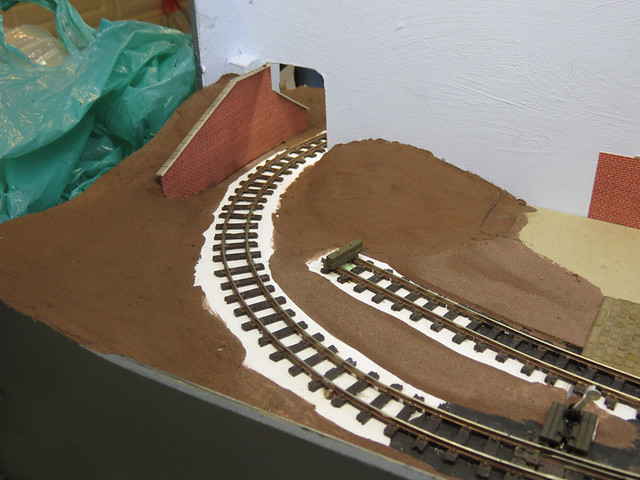
To give a final smooth but slightly textured surface and some colour to the scenery I made up my scenery mix. Ingredients are plaster filler, powder paint (to give a brown colour), water, PVA glue, and some sand. The resulting rough slurry can be "painted" over the ground in a thick layer, and oozed into any gaps.

So now we have soil covered hillsides. Ballasting is next, but first a couple of details. The simple "buffer stop" above was made from a couple of pieces of balsa cut to a sleeper size, and fixed with a couple of wires for "bolts".

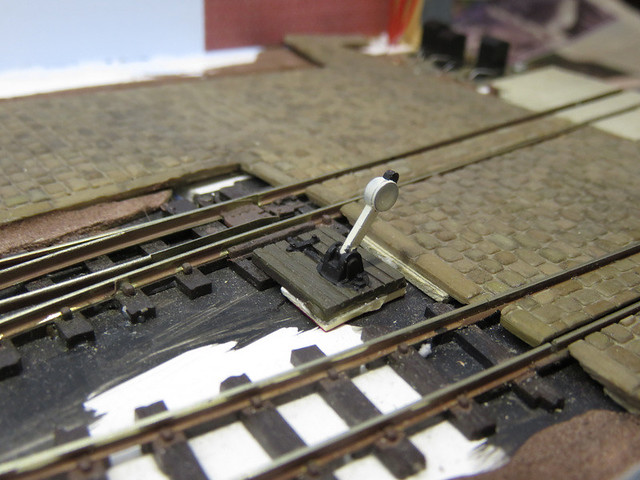
A par of Peco 009 point levers were painted up and stuck down next to the points. A little card packing brings them above sleeper height, the "pip" on the end of the tie bar is cut off so it slides under the lever base-plate.
No comments:
Post a Comment
Due to surprisingly high levels of Spam all comments will now need moderation. If you are advertising, don't bother, otherwise I must apologise if there is a delay in comments being visible, please don't let that put you off!