
The etches were sprayed with an etch primer, while the 3D print was given a normal primer (both Halfords). The print was given a little attention with emery paper and home-made sanding sticks (emery paper glued around a coffee stirrer) between each of two or three coats of primer to ensure a good quality finish on the areas that would be visible (bonnet top and sides, and under-frame). Even though it's a top quality print a few minutes work between coats of paint is a worthwhile investment.
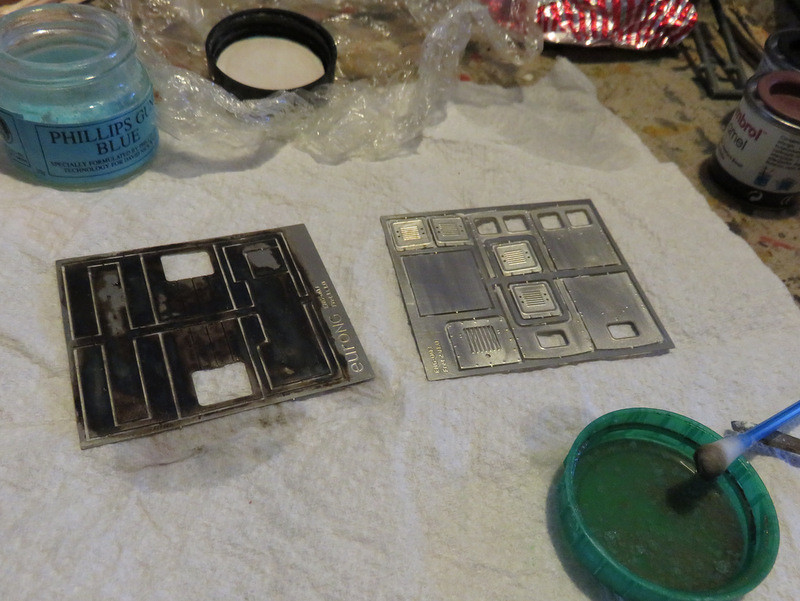
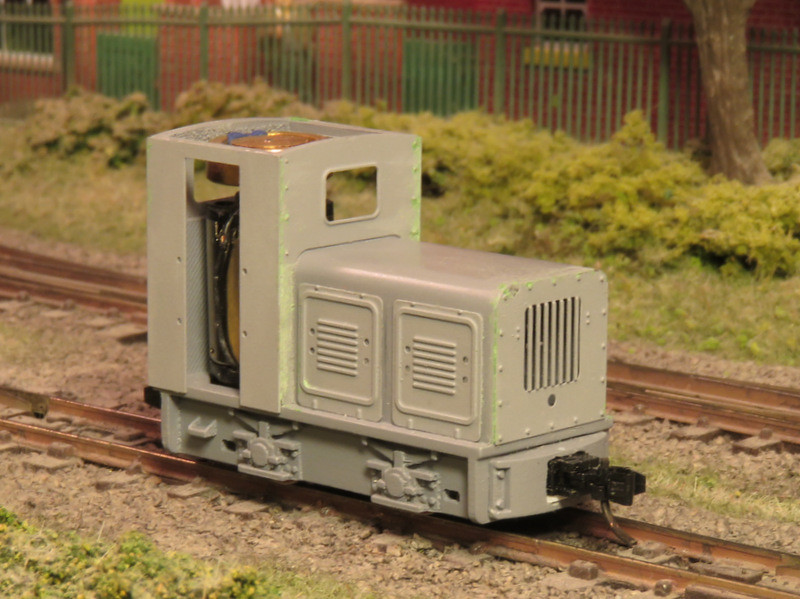
The etches were then assembled - here you can see their lighter shade shows the etch primer, compared to the slightly darker shade of the standard primer. They fit well but once again, to get a good finish I filled any gaps (you can see the green filler) and spent a little more time with the emery paper.
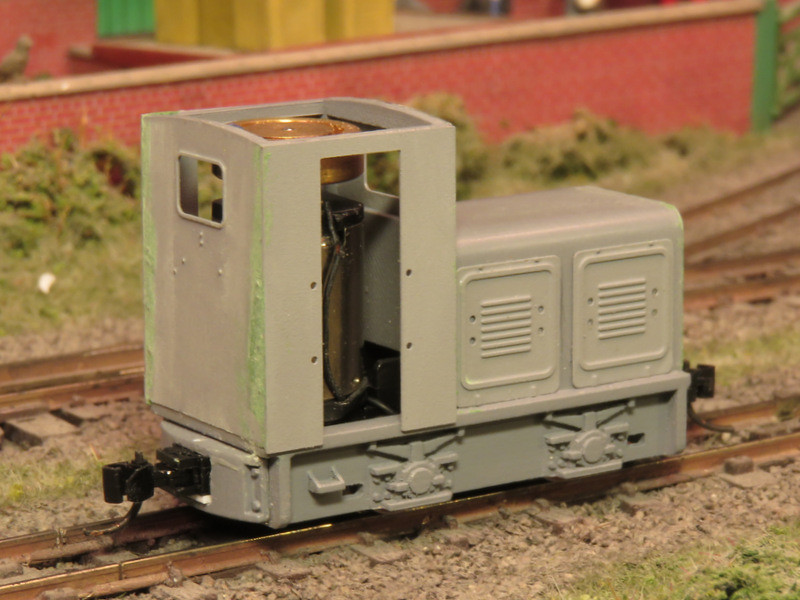
As usual the Microtrains couplers took some thought to mount, though the solution proved relatively easy. I drilled four holes in the coupler block at the corners of the slots, put a fine coping saw blade through a hole and cut out the square opening. A similar square opening was needed in the buffer beam behind, making space for the coupling draft box. After painting a wire pin will be passed through the buffer block and coupling to secure it in place.
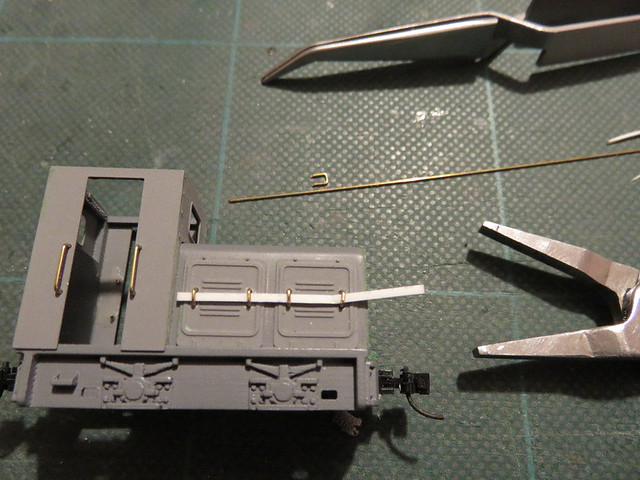
Handrails came next, and those bonnet panels needed a lot of handles! As the etches are laid over the print they needed drilling out too, with a fine bit in a pin vice. The 0.5mm wire was bent around the flat nose pliers, you may be able to see the mark I made where the width was correct to form the handle to a "U" shape. The strip of 20 thou plastic was used to space them equally from the sides while superglue was applied from inside.
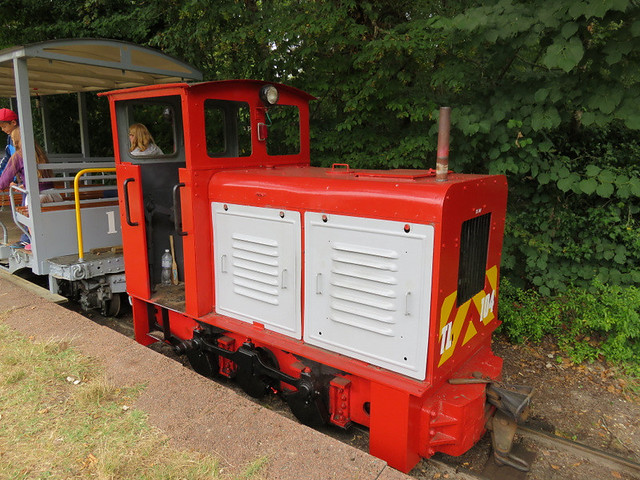
So it just needs the cab roof adding, then I expect another coat of primer before the top coat. I've not yet decided on a colour, though I'm quite tempted by red for a change, as on this NS2f, though the wasp-stripes may be a challenge!
No comments:
Post a Comment
Due to surprisingly high levels of Spam all comments will now need moderation. If you are advertising, don't bother, otherwise I must apologise if there is a delay in comments being visible, please don't let that put you off!